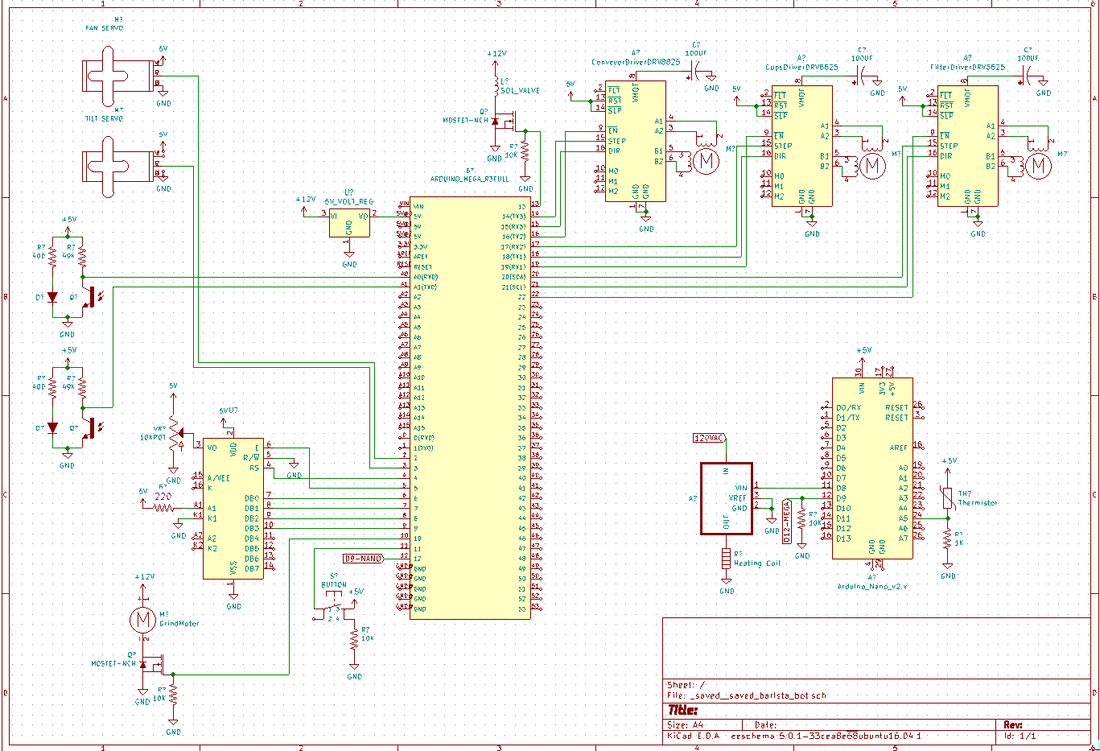
The Final Electrical Schematic
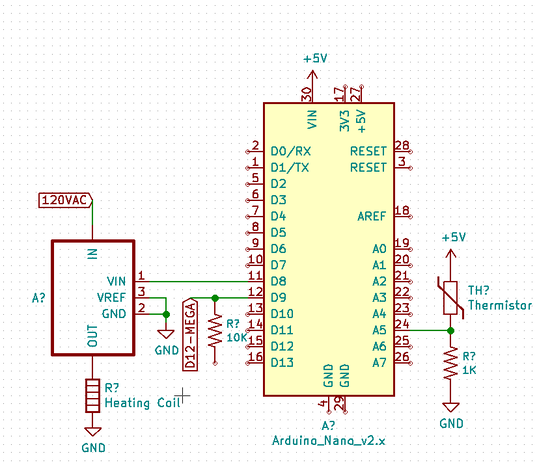
The final schematic can be seen here. We used one arduino mega to control all of our motors and timing. We also used an arduino nano to control water heating because it controls an AC circuit. The water needs to be the correct temperature at all times during brewing, so the Nano is responsible for keeping the water at temperature at all times, so it operates independently of the rest of the DC Mega circuit and communicates only using one pin.
Controls and Timing
Heating Control
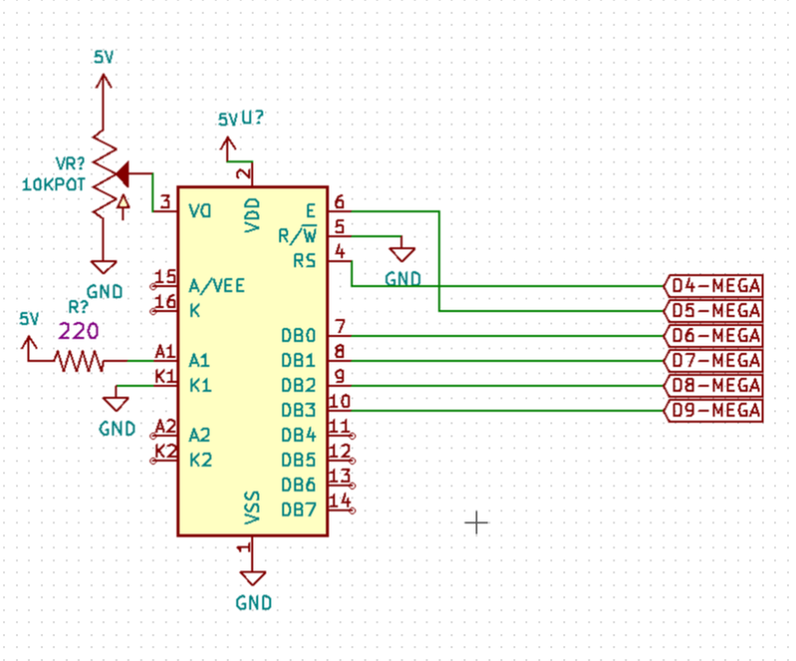
User Interfacing
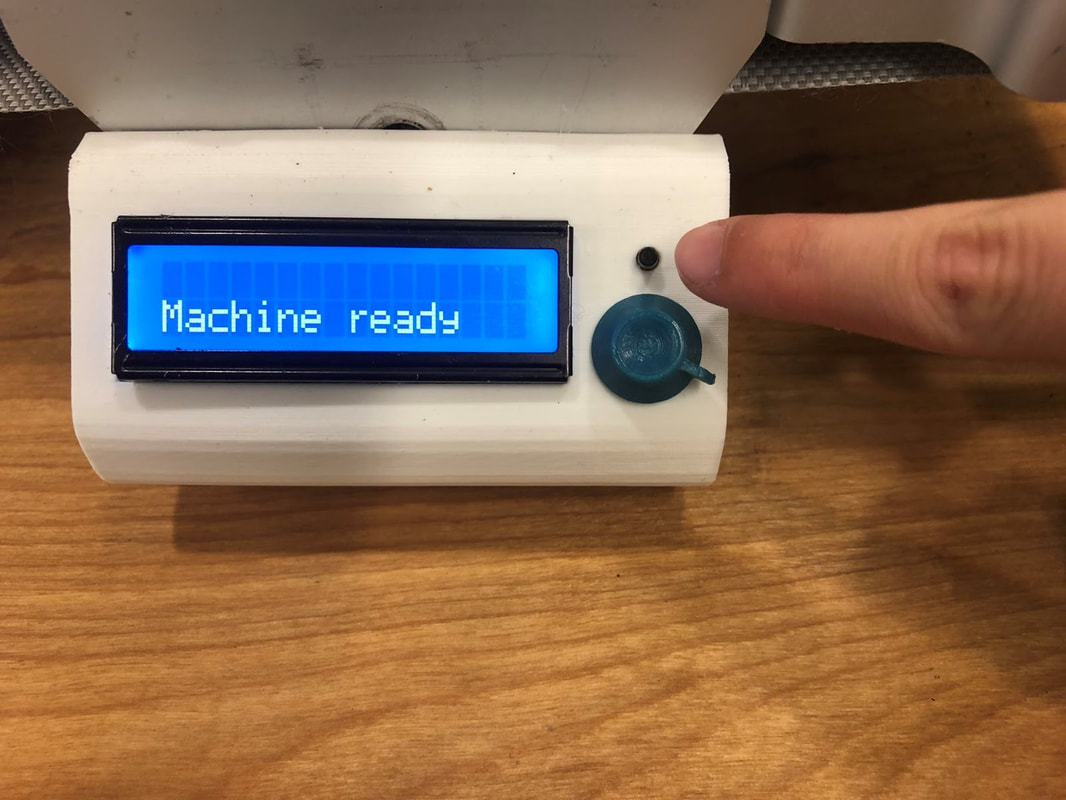
The user can use the display interface to start a coffee cycle and to control the strength of their coffee using a dial selector. In the future we would like to give the user even more parameterization over each brew.
|
|
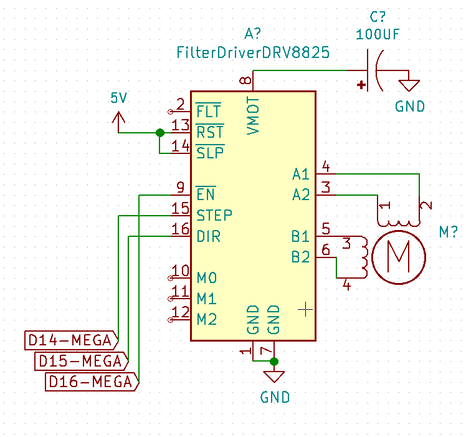
Stepper Motor Schematic
We used stepper motors to actuate the conveyor belt, the cup dispenser, and the filter arm. This section of the circuit controlled by pins of the arduino mega talks to the stepper motor through a DRV8825 driver