Temperature Regulation
This is why I'm hot.
Overview
The temperature regulator enables us to programmatically change the temperature of our griddle, reducing the need for human input in our system. The unit consists of a servo motor attached to the temperature controller that came with the Presto Cool Touch Griddle we purchased.
The Temperature Control Unit
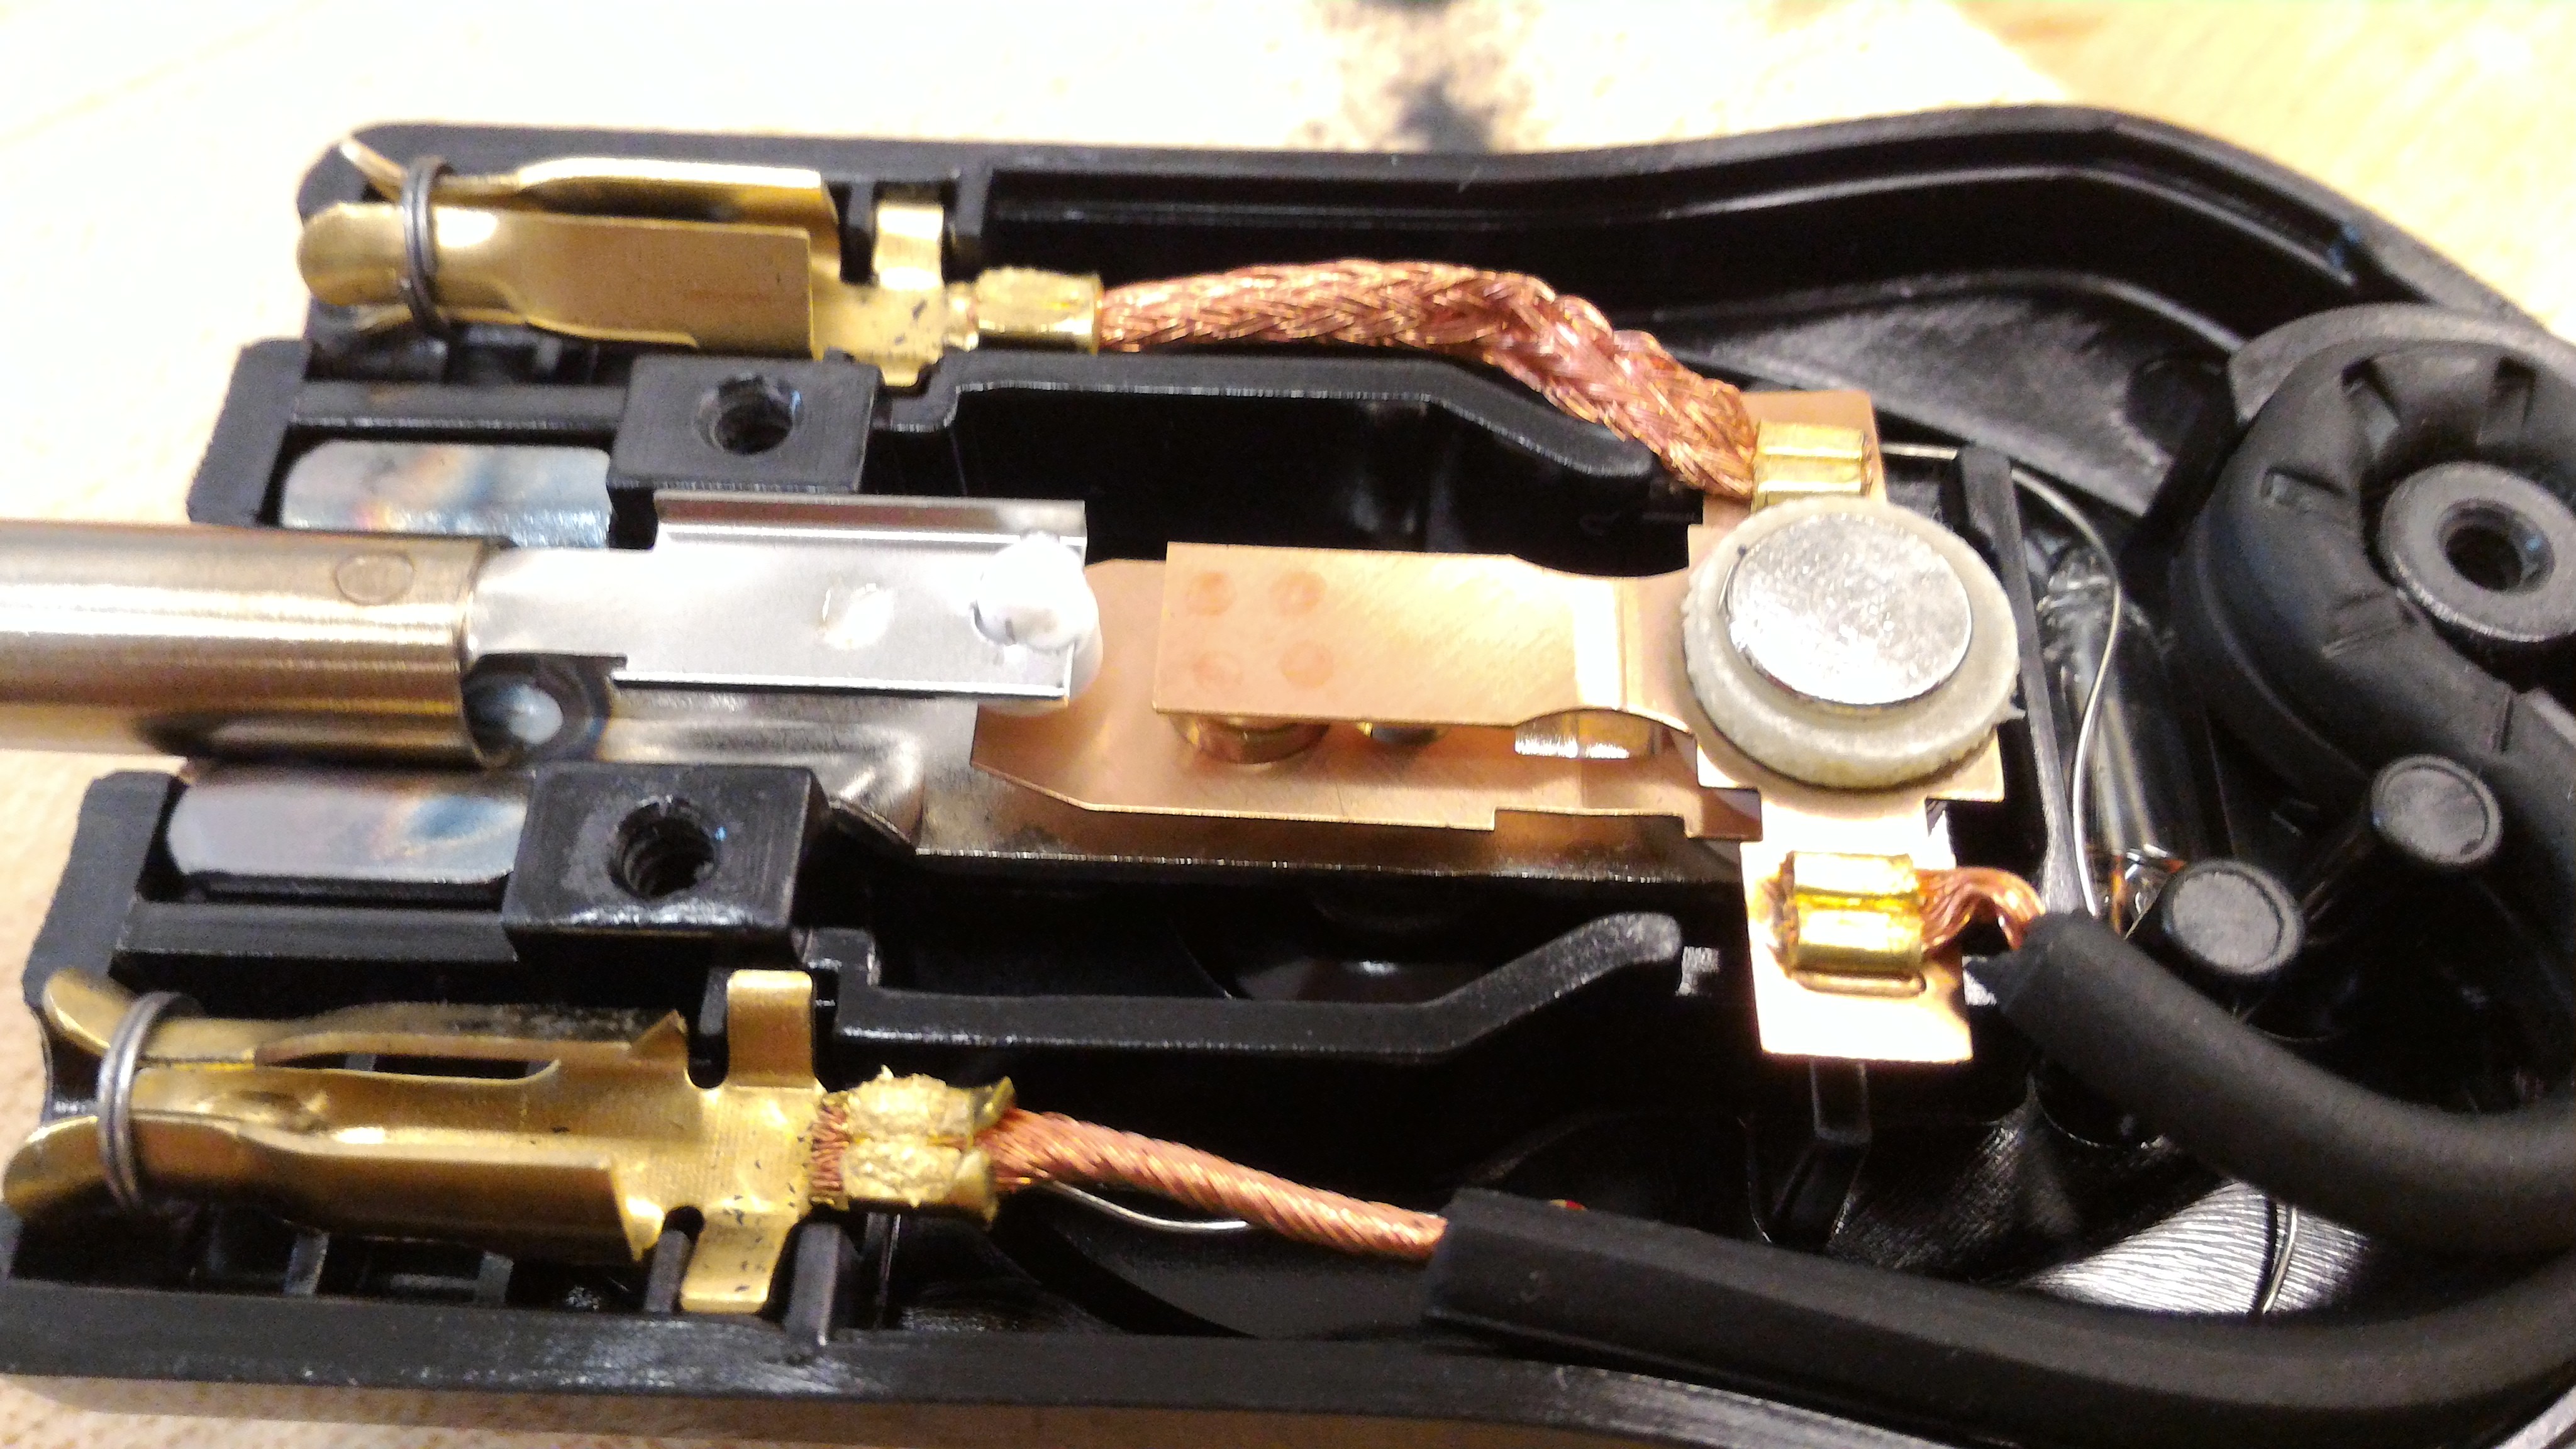
The temperature control unit uses a simple mechanism to perform the seemingly complex task of maintaining the temperature of the griddle. In an early sprint, we decided to take the controller apart in order to discover how it functions. This is what we found:

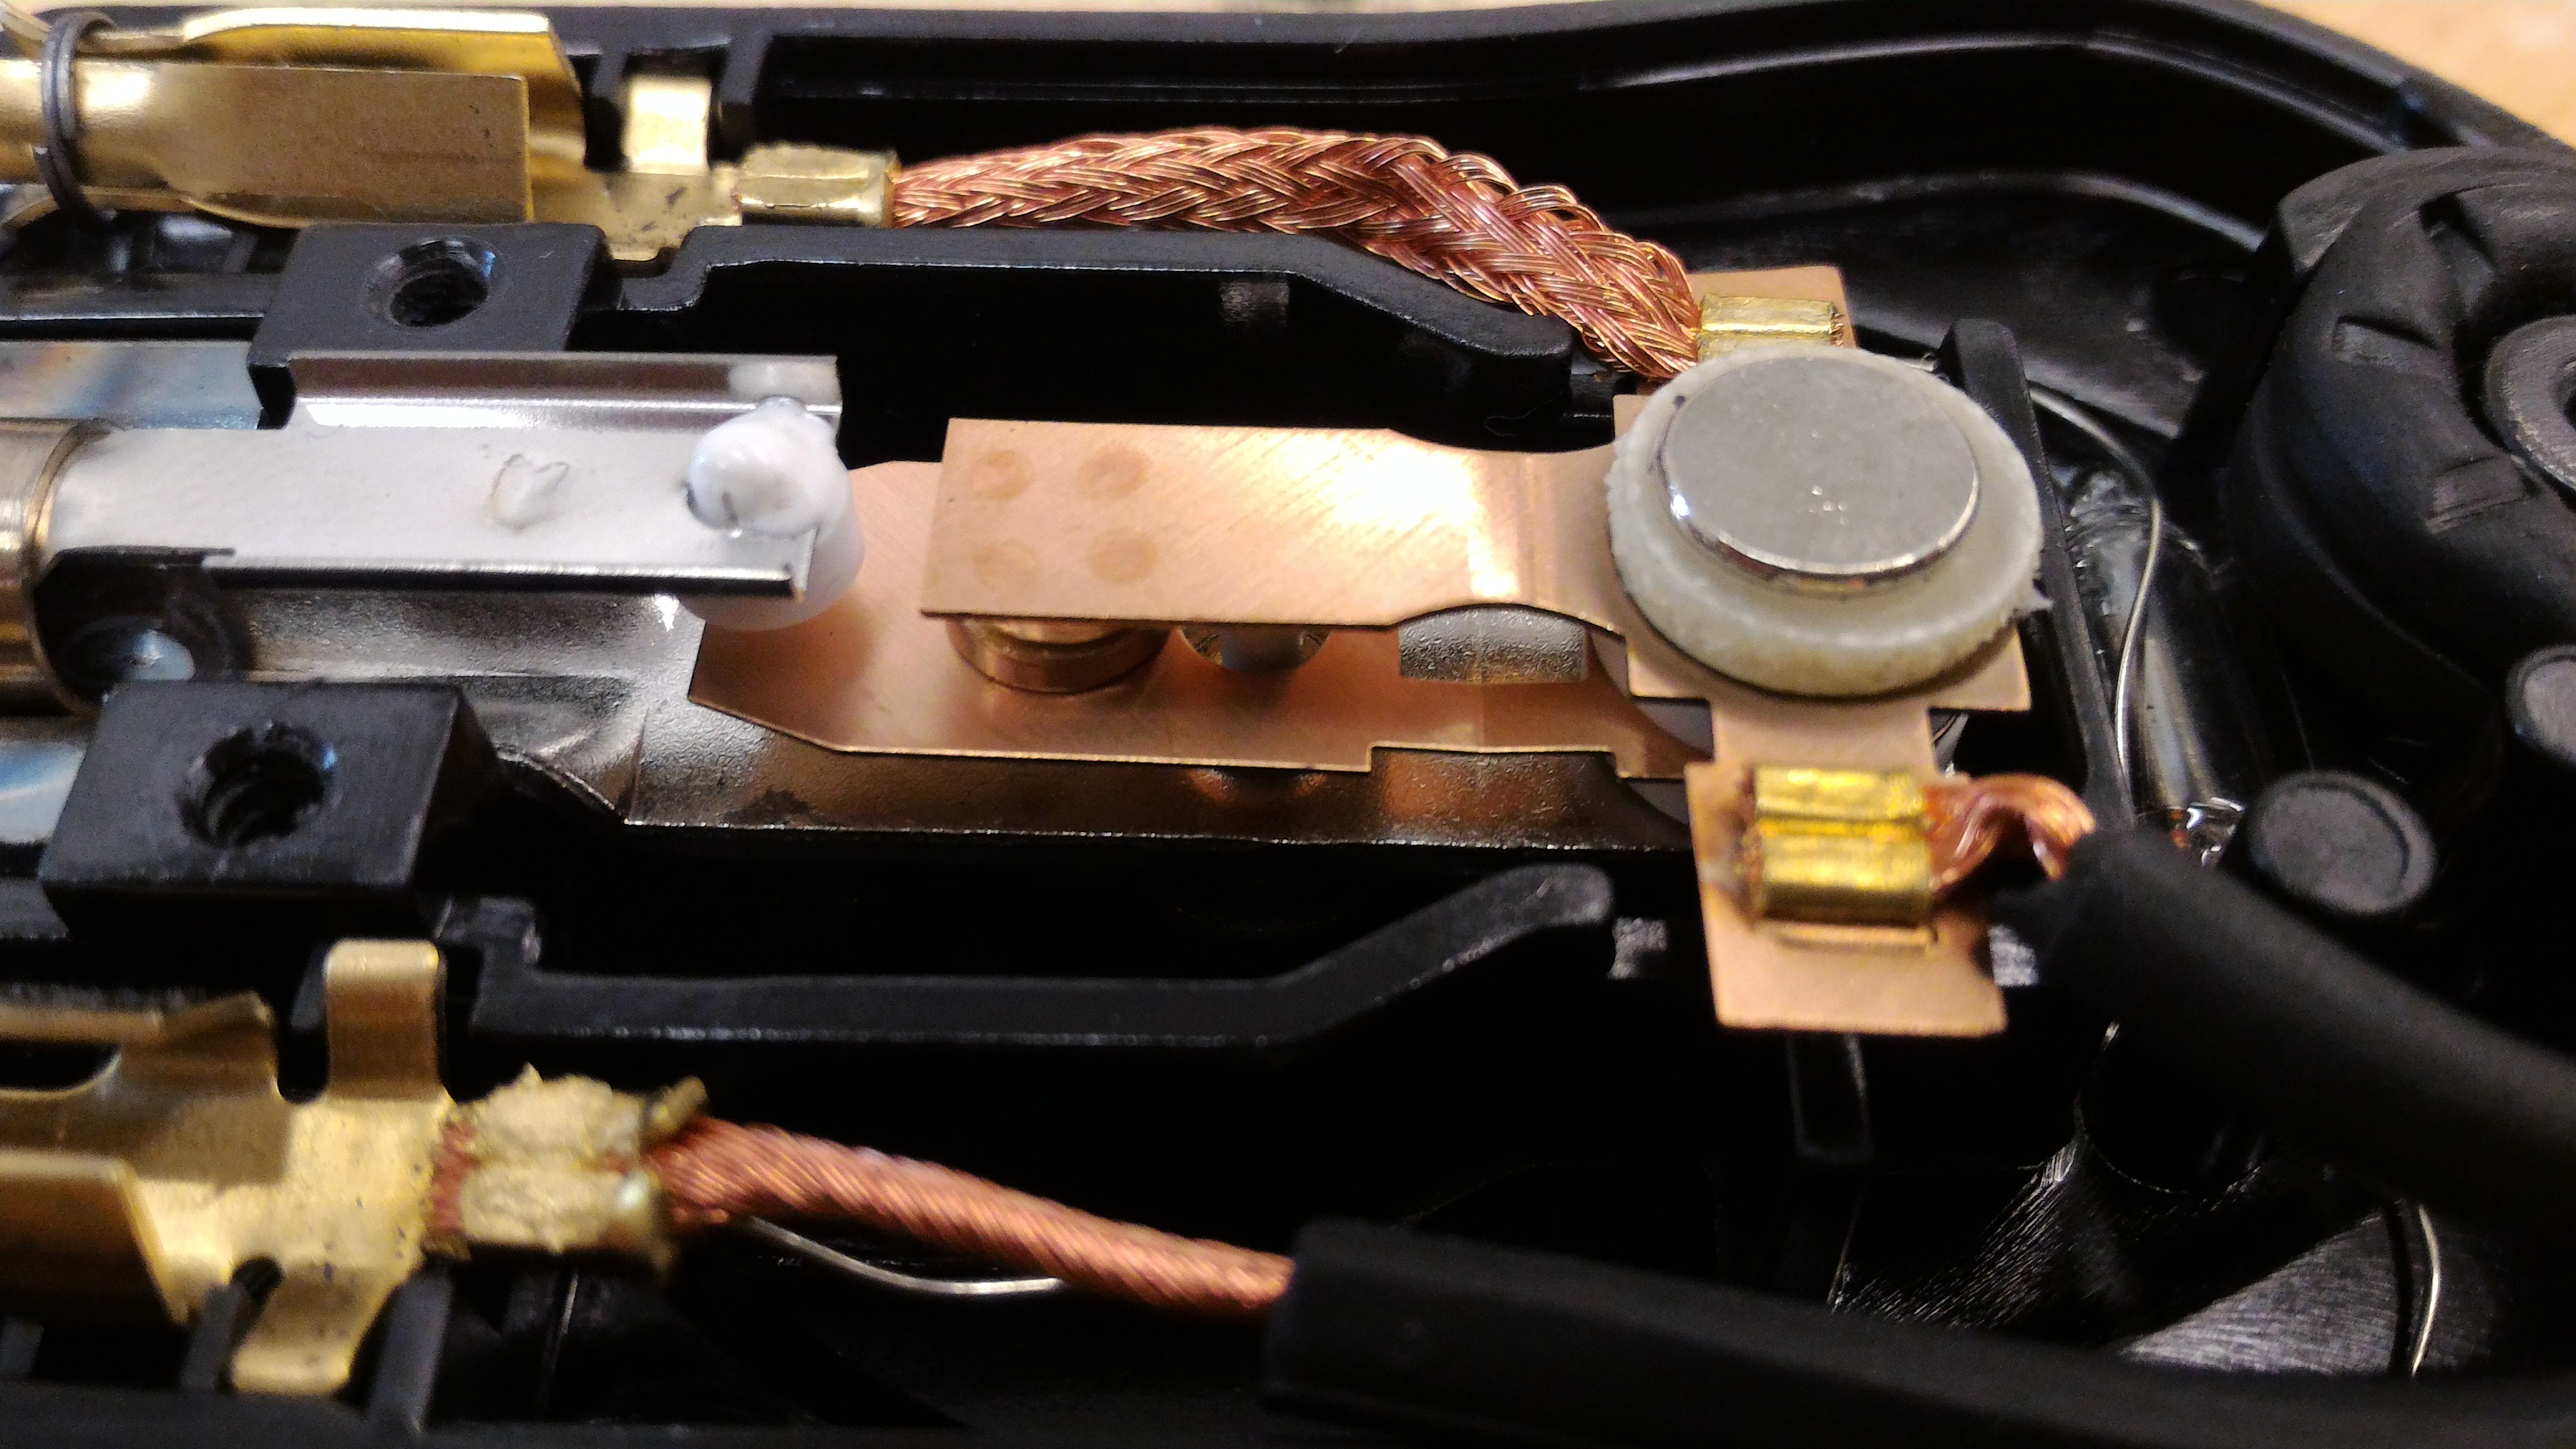
The power lines come in from the right and are attached to connectors that connect with power leads on the griddle. However, in order for current to flow to the far connector, the contacts between the two bronze-colored plates in the center of the controller must be touching. This mechanism is what controls the temperature. The lower plate is made of two layers, each consisting of a different metal. When this plate is heated, the layers expand at differing rates, which causes the plate to bend in one direction.

As the temperature of the griddle increases, the plate bends more, and eventually, the contact is broken and the griddle is no longer powered. When the temperature of the griddle decreases enough, the contact will be made again and power will be provided. The function of the knob is to change the position of the top plate, which dictates how far the lower plate must bend to break the contact.
The Servo
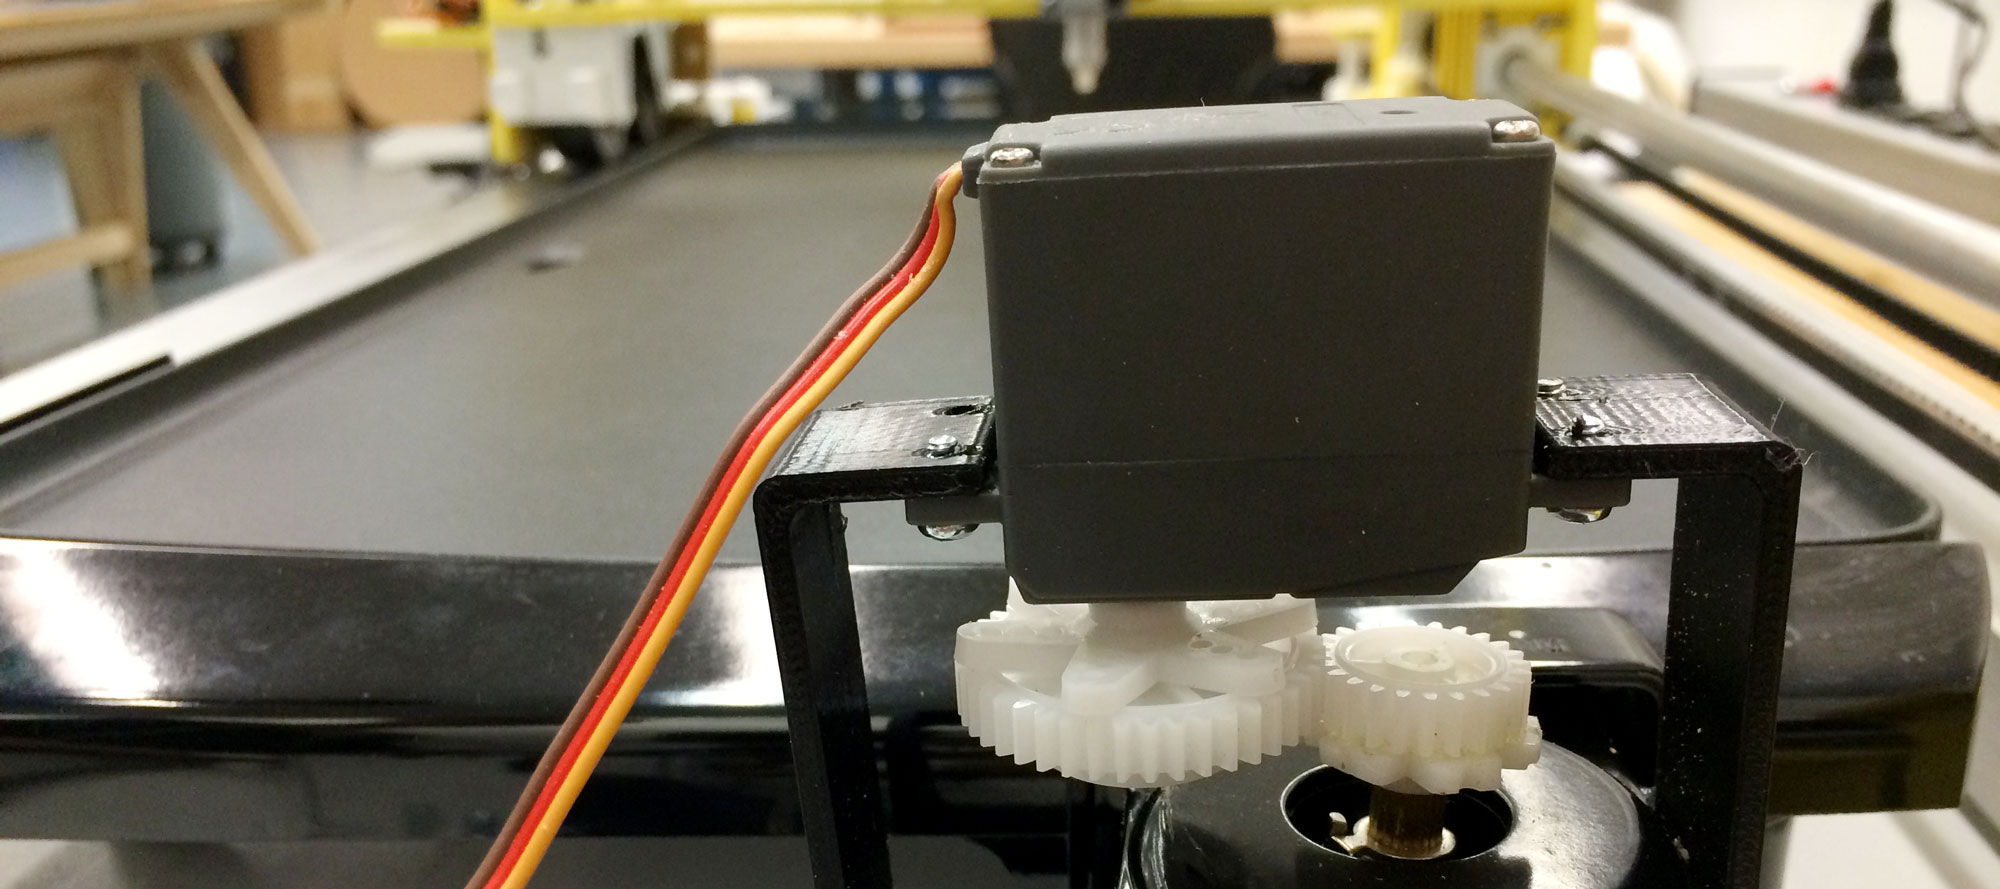
After we decoded how the temperature controller worked, we decided that the best way to mechanically change the temperature would be with a servo motor. However, the knob of the temperature controller spins nearly 360 degrees, while normal servos only spin 180 degrees. For this reason, it was necessary to fasten gears to both the servo horn (43T) and the knob of the temperature controller (22T). To maintain contact between the two gears, we designed a simple U bracket that holds the servo in an inverted position above the controller. This bracket was 3D printed and secured using hot glue.
