Sprint Goal:
The machine can knit a small, multiple row sample.
The machine can knit a small, multiple row sample.
After the lack of productivity in previous sprint, we decided to move to have sprint task distributed into have sprint intervals (aka one week tasks instead of two week tasks) .
Sprint 3a Goal: Each member of the team has made 1-2 improvements to the cam/needle system.
Sprint 3b Goal: Actuate stitches with yarn
Sprint 3a Goal: Each member of the team has made 1-2 improvements to the cam/needle system.
Sprint 3b Goal: Actuate stitches with yarn
Overview:
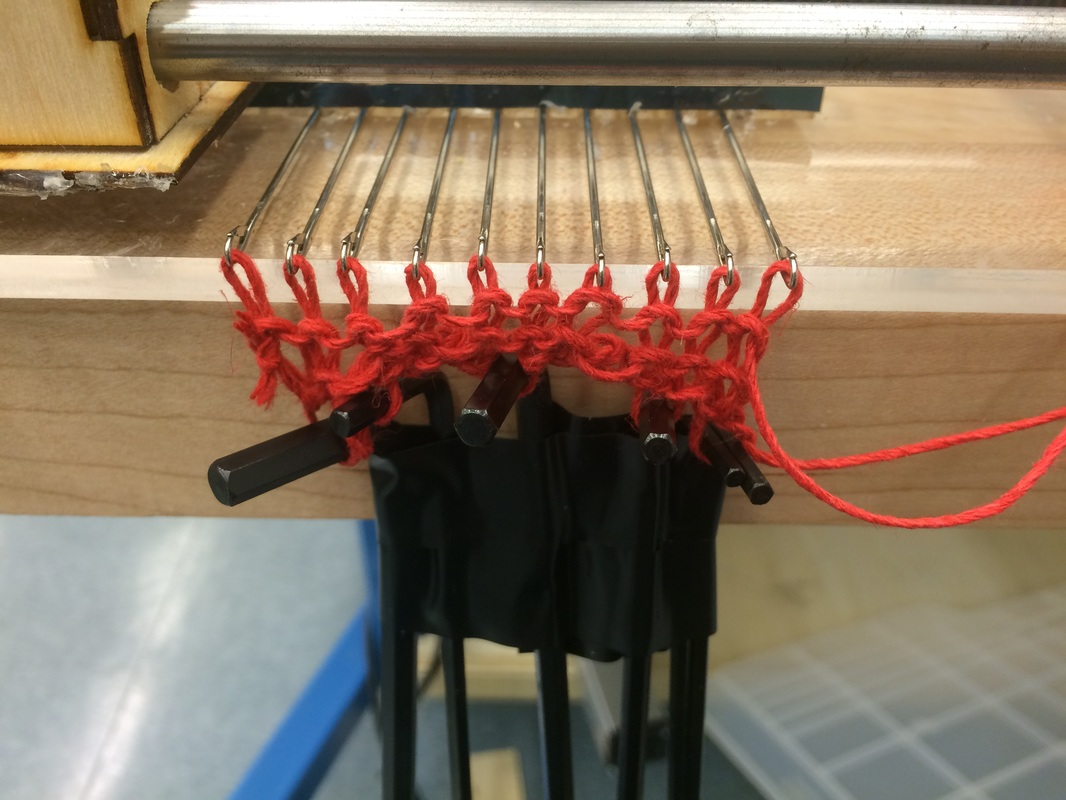
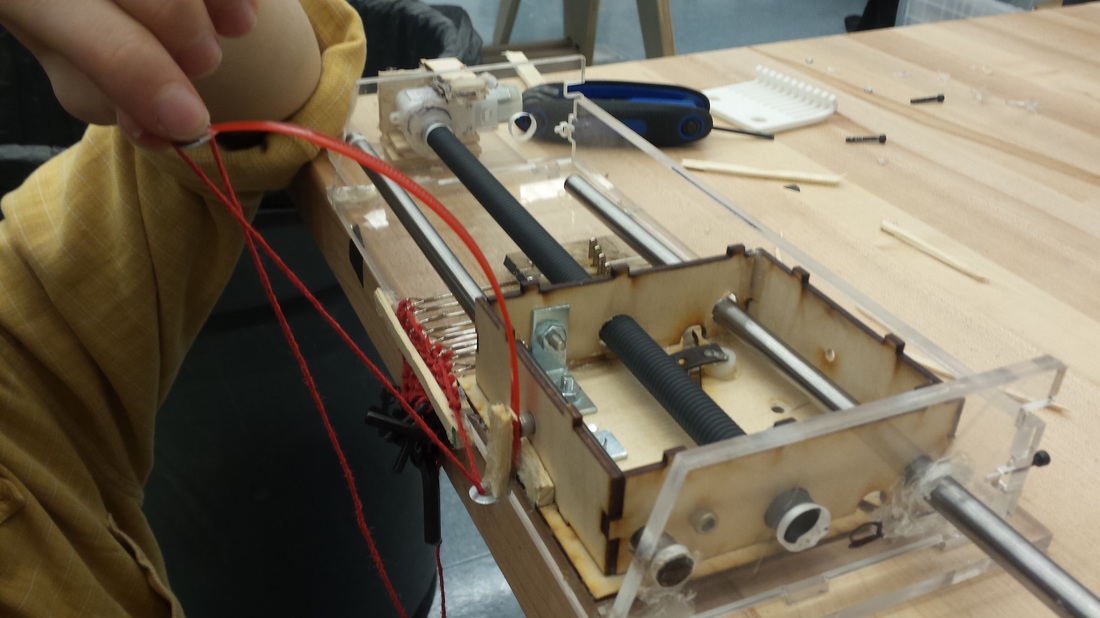
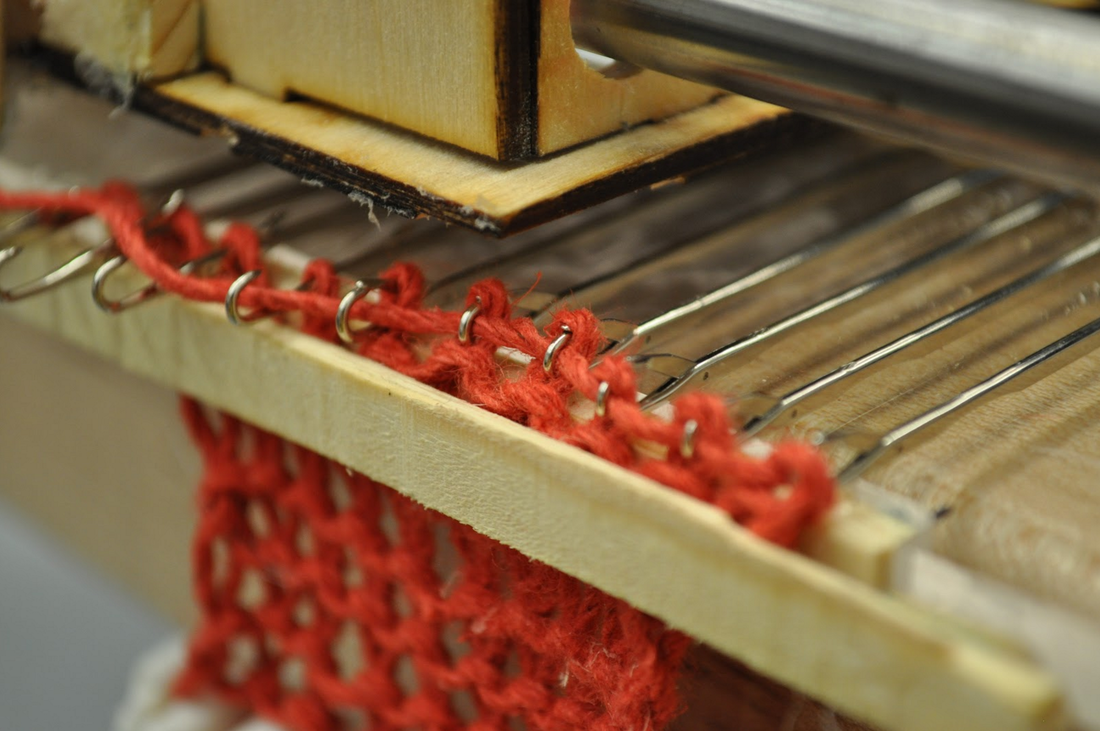
Needle bed and cam now play well together. Stitches can be hand actuated and will work as such. Sensor code now functional. Motor attachment slightly less janky, but not by much. Tensioner not working. Needles don't move out quite far enough to complete stitches automatically. Two-sided verge added to hold fabric in place during knitting.
Needle bed and cam now play well together. Stitches can be hand actuated and will work as such. Sensor code now functional. Motor attachment slightly less janky, but not by much. Tensioner not working. Needles don't move out quite far enough to complete stitches automatically. Two-sided verge added to hold fabric in place during knitting.
|
Sprint Events (A):
Event: Website Redirect headed by Joe
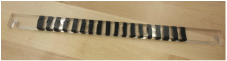
Event: Encoder Strip Improvement headed by Claire
Event: Website Improvement headed by Claire
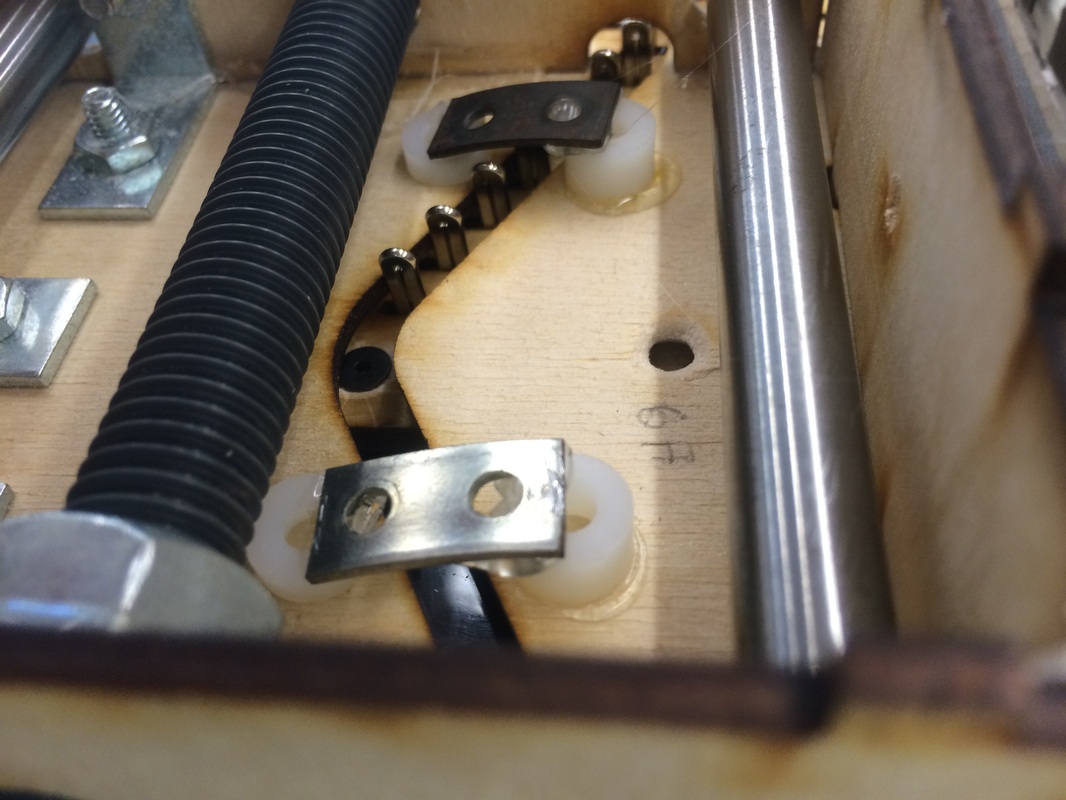
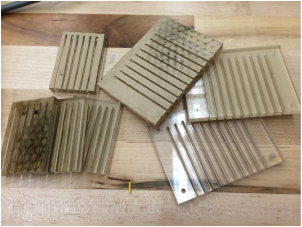
Task: Cam Support to be moderated by Claire Bridges are attached over the channel of the linear cam to increase the stability of the cam. Bridges must be high enough to not block follower motion.
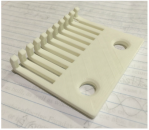
Task: Needle Bed to be moderated by Aubrey
10-needle bed of 0.25" acrylic. Needle bed constrains needles upright. Front of needles are constrained. Aluminum sheet cover contains appropriately sized slots that allow for off motion and are constrained on the front.
Task: Cam Follower Rollers to be moderated by Joe Bushing-style rollers have been added to the needle cam followers. Rollers are stable enough to handle pressure without deformation. Rollers are smaller than cam channel to allow for motion through channel.
Add a slick material to both sides of the linear cam channel to decrease friction between the linear cam and the cam followers
Task: Cam/Follower Improvement to be moderated by Sean Make improvement to the linear cam and needle follower system
Task: Cam/Follower Improvement to be moderated by Paul Make improvement to the linear cam and needle follower system
|
"Stop shouting, dearie. I can hear you just fine." ~ Grandma
"Now where did I set down my reading glasses?" ~Grandma
|
|
Sprint Events (B):
Event: Added Weighted Comb headed by Claire and Joe
Event: Corrected Sensor Code headed by Sean, Claire, and Paul
Event: Stitch Actuation Proof of Concepts headed by Claire
Event: Yarn Tensioner headed by Sean and Aubrey
Event: Two-Sided Verge headed by Sean and Aubrey
|
|
Previous Goals:
We desire to have a knitting machine that is stable enough to create a multiple row knitted sample without mistake, repeatedly. The trade-off is less features.
Personal Goals:
Mechanical Goals:
We desire to have a knitting machine that is stable enough to create a multiple row knitted sample without mistake, repeatedly. The trade-off is less features.
Personal Goals:
Mechanical Goals:
- Understanding how the 1D needle motion can actuate a stitch, including scale of motion and location of needle head
- Understanding how linear cams work, and the specifications that are required for smooth, correctly-scaled motion
- Research and practice of method for driving linear
- Expand knowledge of mechanical joints and joinings
- Gain greater familiarity with laser cutting, including materials and tolerances
- Learn more about motion tracking systems, such as various types of encoders
- Practice using embedded system components, such as the arduino and motor shield, in circuits
- Research the easiest methods of creating websites that can be moved into the POE hosting solution
- Make a gui from the PyGtk to expand knowledge of python graphics libraries
Risks:
We still have not met our minimum viable product going into the final sprint, which is bad. We wanted to build a 20-30 needle version, but our 10 needle version is not yet functional. It needs to become functional very, very soon. The biggest risk is sacrificing time on the smaller machine for the larger one might bite us when we try and fix everything.
We still have not met our minimum viable product going into the final sprint, which is bad. We wanted to build a 20-30 needle version, but our 10 needle version is not yet functional. It needs to become functional very, very soon. The biggest risk is sacrificing time on the smaller machine for the larger one might bite us when we try and fix everything.
Decision:
Let's do this. We have one sprint to go, and we have to make our project work at all costs. We've gotten out many of the kinks, but there is still plenty to fix. Our plan is to divide and conquer in teams rather than individually, splitting into two groups so we can tackle the remaining problems faster.
Let's do this. We have one sprint to go, and we have to make our project work at all costs. We've gotten out many of the kinks, but there is still plenty to fix. Our plan is to divide and conquer in teams rather than individually, splitting into two groups so we can tackle the remaining problems faster.