Overview
In Sprint Three, we continued to improve the mechanism we designed in Sprint Two. In our last iteration we had issues with having a small shaft, which we improved, and we did not implement the aesthetics-portion of Andrew since we had different priorities at the time. In this sprint, we made sure to give Andrew a new and cute look.

Mechanical Breakdown
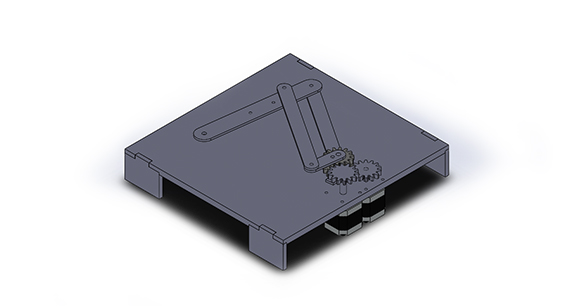
Arm CAD
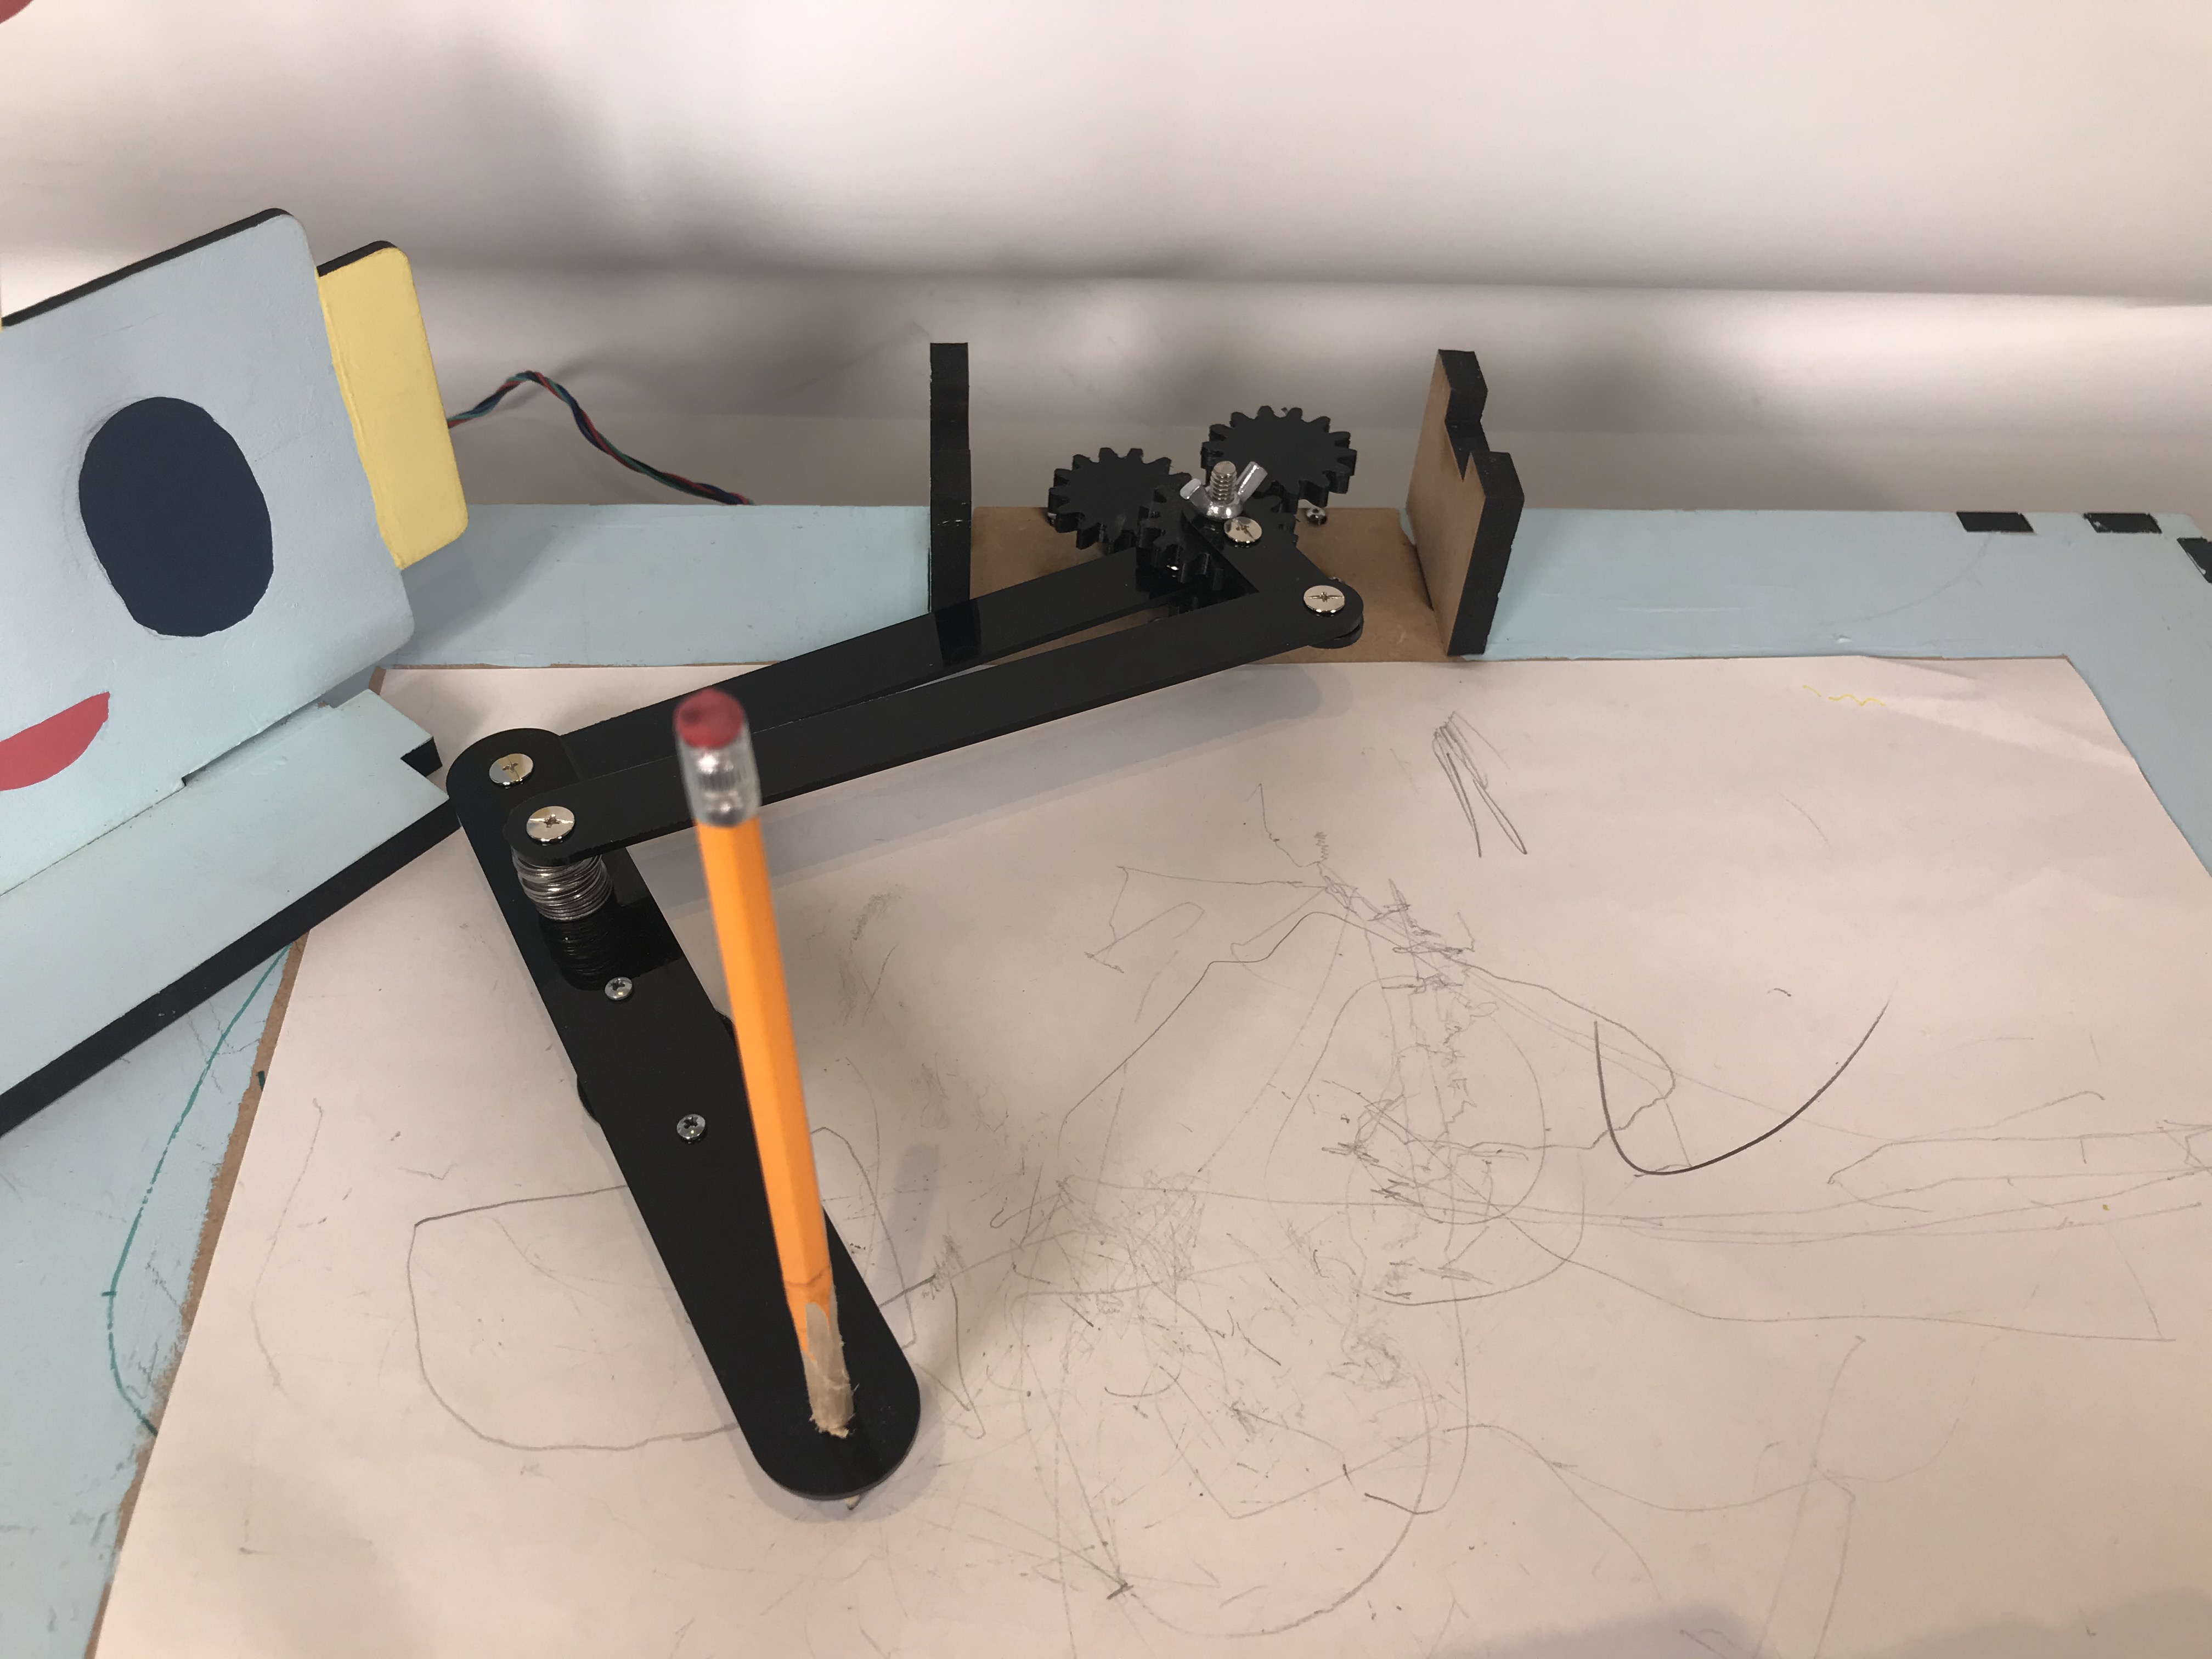
In this Sprint, we focussed on mostly improving the work from the last sprint. We printed the gears with added shaft length, to fix the problem with the motors, and added a castor wheel to the arm so there was less friction from the “elbow”. However, once we integrated with the software system, we started running into problems. The main issue was that our current system had too much backlash, and the motors were struggling with making straight lines, and even moving the system at all. We started considering a couple causes and solutions. The joints on the arm were a little wobbly, and not very constrained, which contributed some to the problem. But the main issue was with the gears. We went back and forth on how to fix the system, but eventually decided that there would be no good way to make the gears move smoothly enough to power the arm with the precision we wanted.
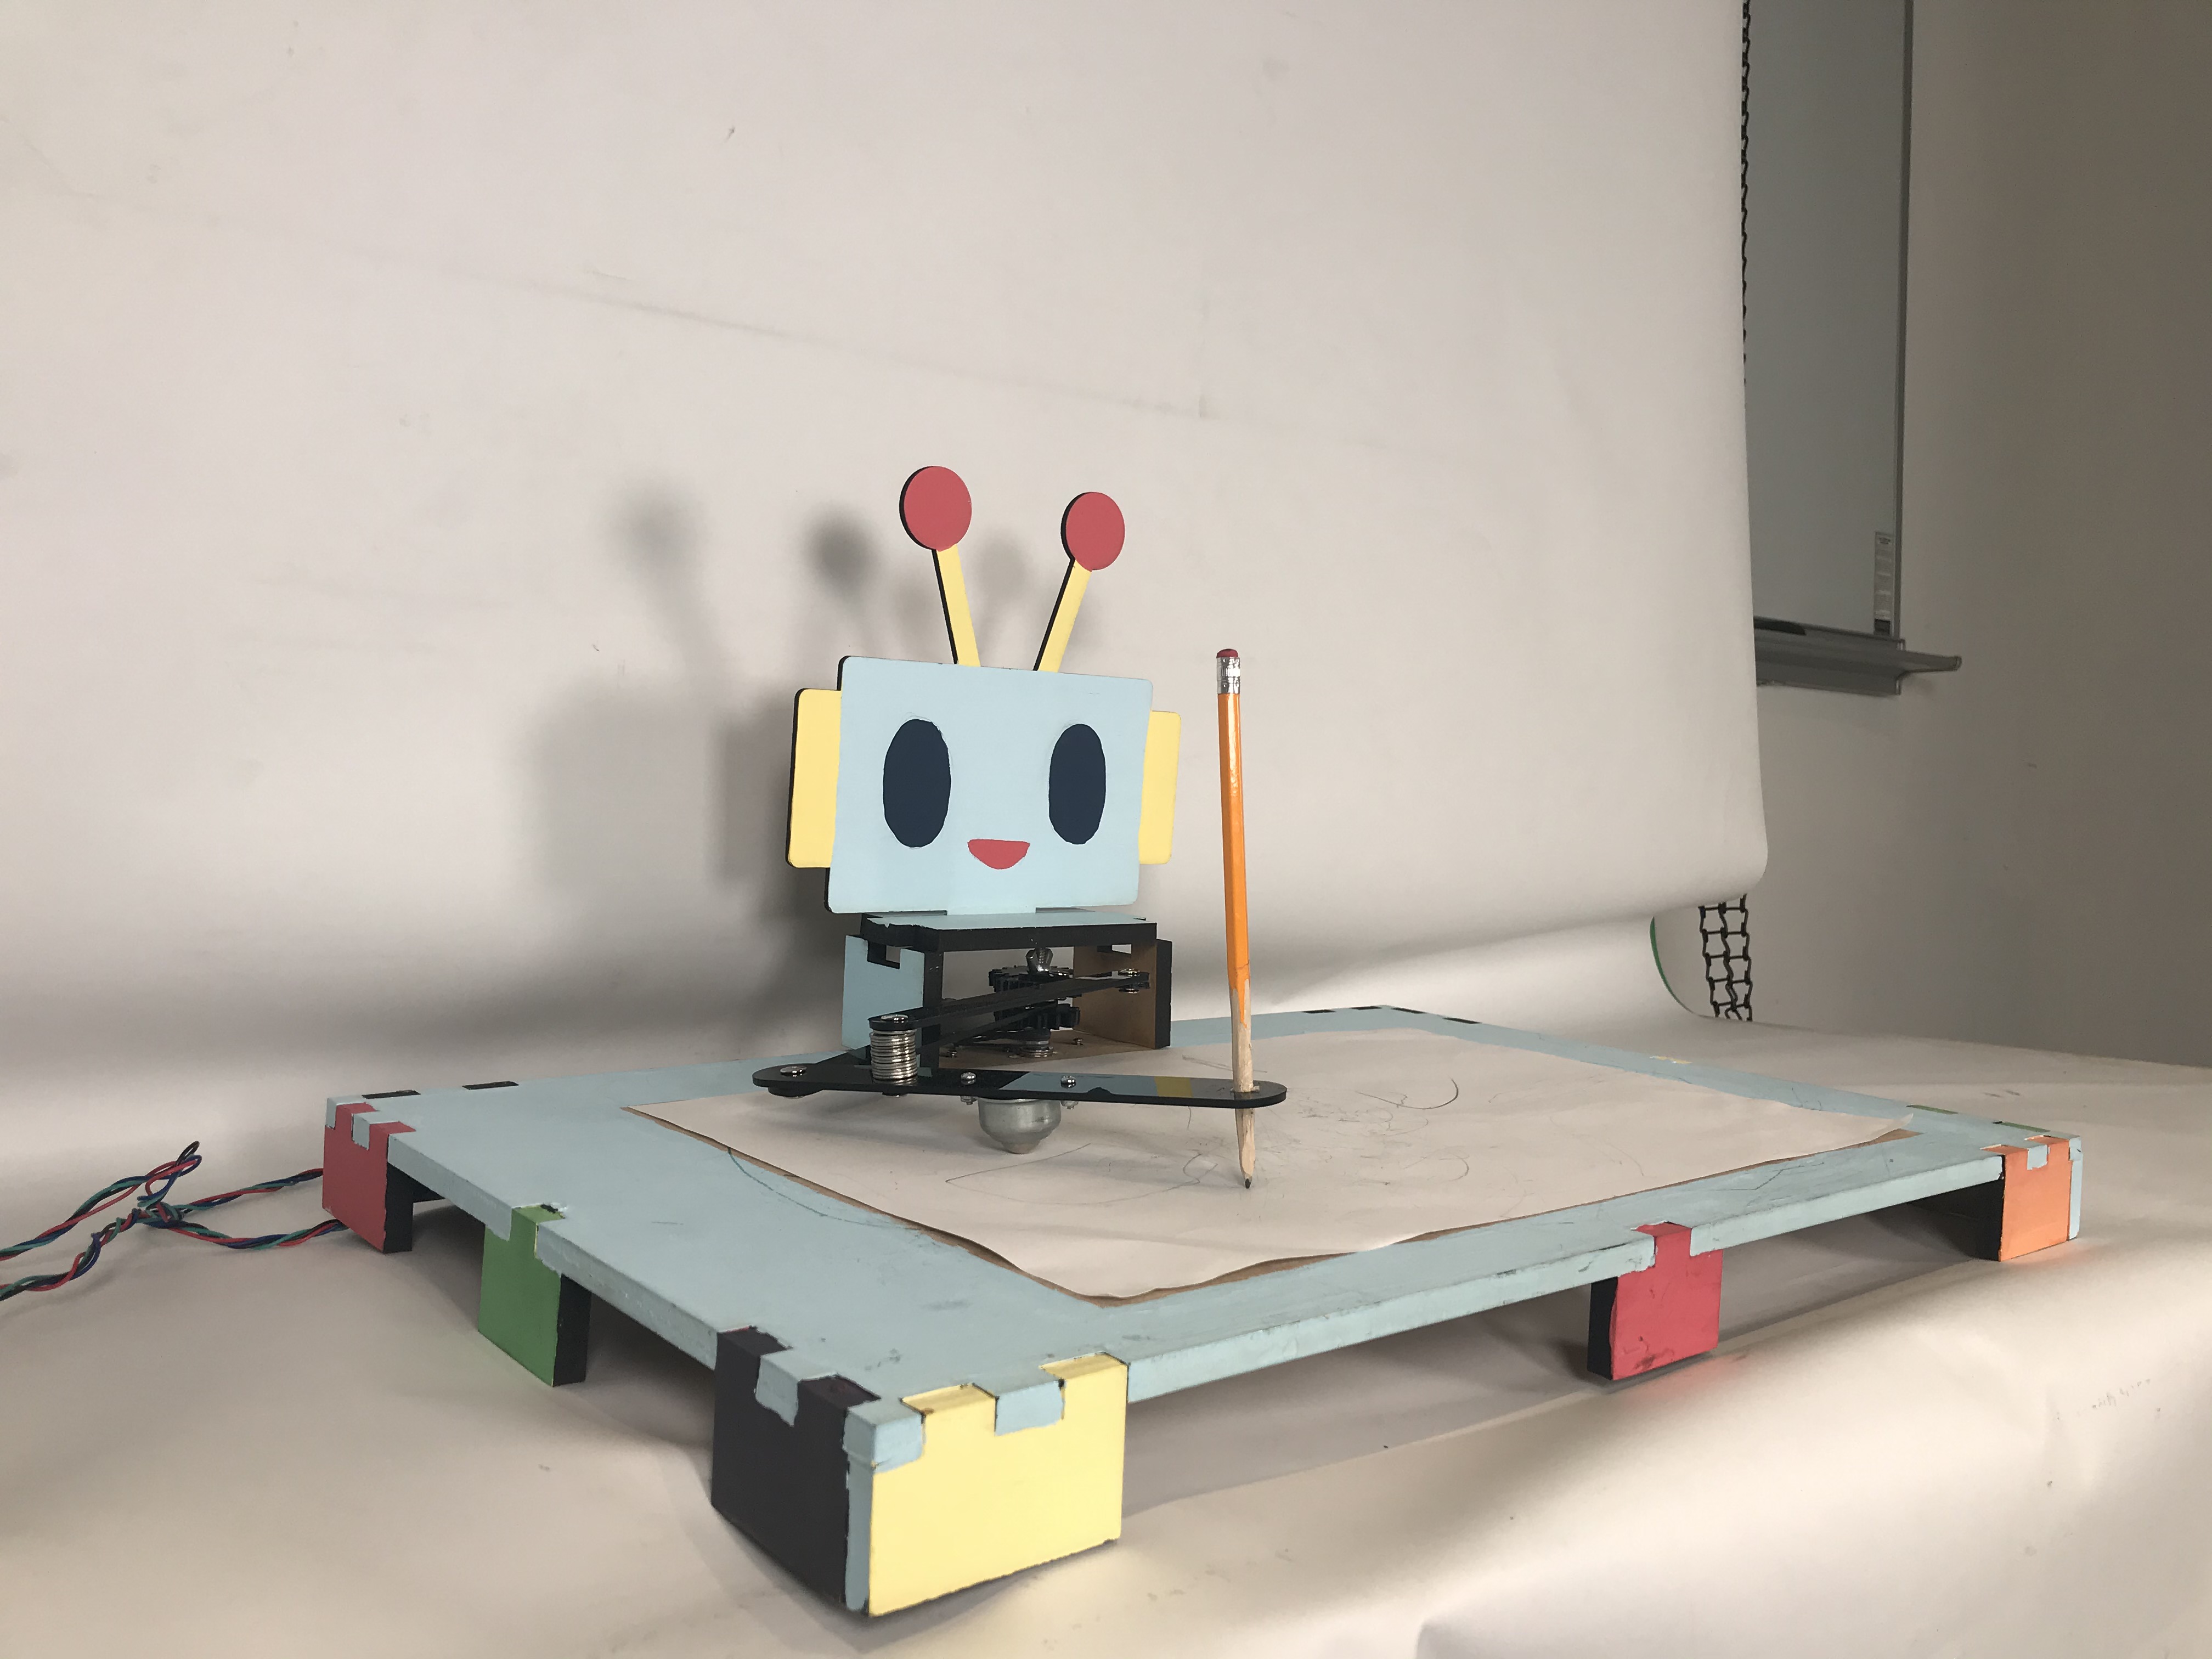
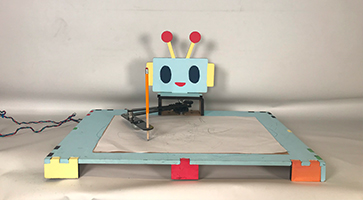
Designing Table and Character
For this sprint, our goal was to give Andrew an adorable personality, which is why we stuck to the original idea of a robot face. We also decided to paint him to emphasize this idea. We used pastel primary colors for the main face because pastel colors are usually correlated with childhood and pastel colors because when combined they make multiple colors. The idea of multiple colors together is a symbol of how we as a group had various inputs and came together to make an amazing mechanism.
Electrical Breakdown

Sprint Two and Sprint Three have the same electrical set up. On the left you can see the schematic for the mechanism.
If you would like to learn more about the set-up you can click here to learn more.
Software Breakdown
Inverse Kinematics Code Preview

G-Code Preview
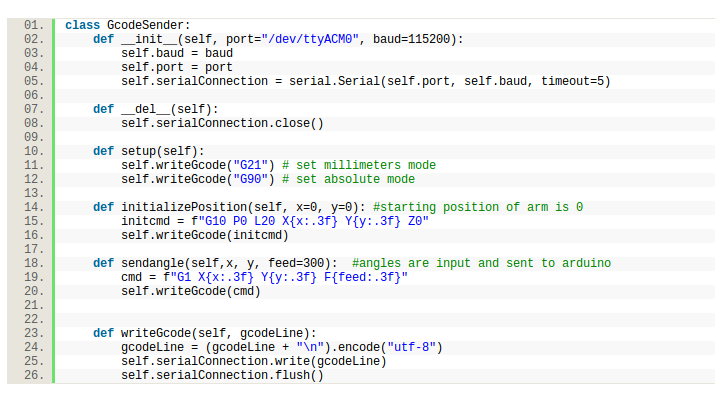
Moving forward, we had the option of using GRBL or Stan’s stepper library, both suitable options. Because of GRBL’s extensive online documentation, we ended up creating a G-Code sender through Python. Upon flashing GRBL to the Arduino, we also avoided the hassle of UART because all GRBL needs is a serial connection. In Python, we calibrated the existing kinematics equations to fit a coordinate system onto our drawing platform, created line interpolation to make straight lines, and a general script where we can input equations that draw pretty shapes.
During this, we also made a start on an algorithm that would convert a picture into a single line image drawn on a plot with help from a youtube video. It mainly outputs a large black square, which indicates that something needs to be changed in the halftoning process.
Visit our Github to get access to our code and see the progress we had made.
Bugdet Overview
| Expenses | Comments | Sprint | Price |
| Casters | --- | Third | $9.59 |
| Screw Posts | --- | Third | $7.99 |
| MDF | 24" x 24" x 5/8" | Third | $11.99 |
| Total: | $29.57 |
Not including shipping