Sprint 2
Learning Goals.
At the beginning of sprint 2, we took another look at our learning goals to figure out how we were doing. For Andrew, he did lots of research on sphere manufacturing, and also spent lots of time learning new types of code such as OpenCV for implementation later in the project. Connor worked a lot with Wi-Fi chips and got some experience with fabrication. Grace also got to learn more about Wi-Fi chips and wanted to learn more code as we started the next sprint. Sid saw through prototyping with the design he had made in the CAD assembly. He also spent a lot of time working on mechanical revisions.
Kaizen.
For sprint 2, we came up with two kaizens. One was to order materials early, and the other was better division of tasks.
Making BB8.
After doing some testing with various types of sensors, one huge challenge that we ran into was gaining information about the sphere's surroundings from inside the sphere. Infrared didn't work because it required the sphere to be clear, which wasn't an option. Sonar didn't work because the sound waves couldn't penetrate the sphere.
Eventually, we ended up deciding to add a head to our sphere and making it a true BB8. This allowed us to include many more sensing capailities, such as a camera that we could use for tracking people using OpenCV.
MVP Revisions.
Between sprint 1 and 2, we changed our goals for the project slightly, and ended up coming up with these criteria for a minimum viable product. We wanted a BB8-esque robot structure and movement. We also wanted communication between the head and body of the robot. We wanted to include basic camera vision with OpenCV. We wanted a head that moves independently of the sphere, and lastly we wanted object avoidance.
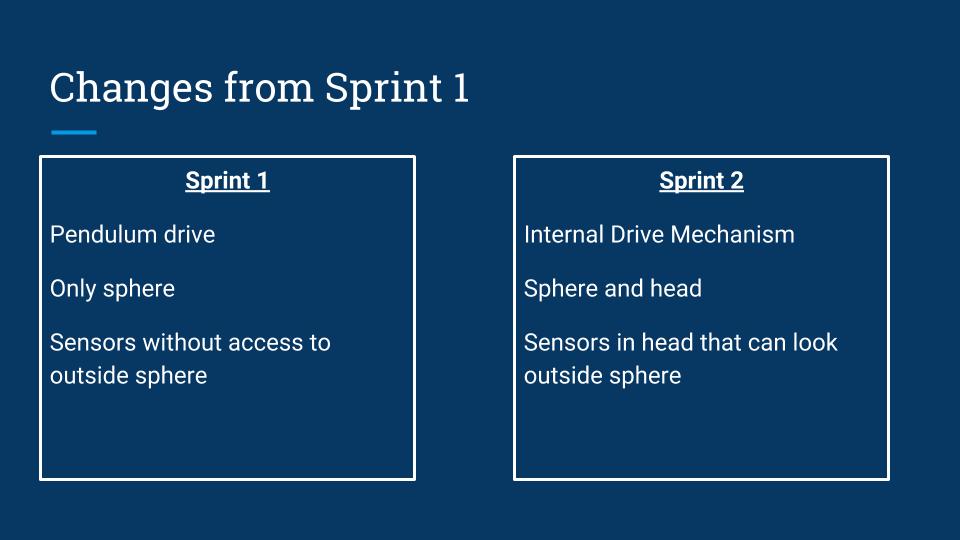
Changes from Sprint 1 to Sprint 2.
In the image below, you can see a diagram depicting the changes that we made between sprint 1 and sprint 2.
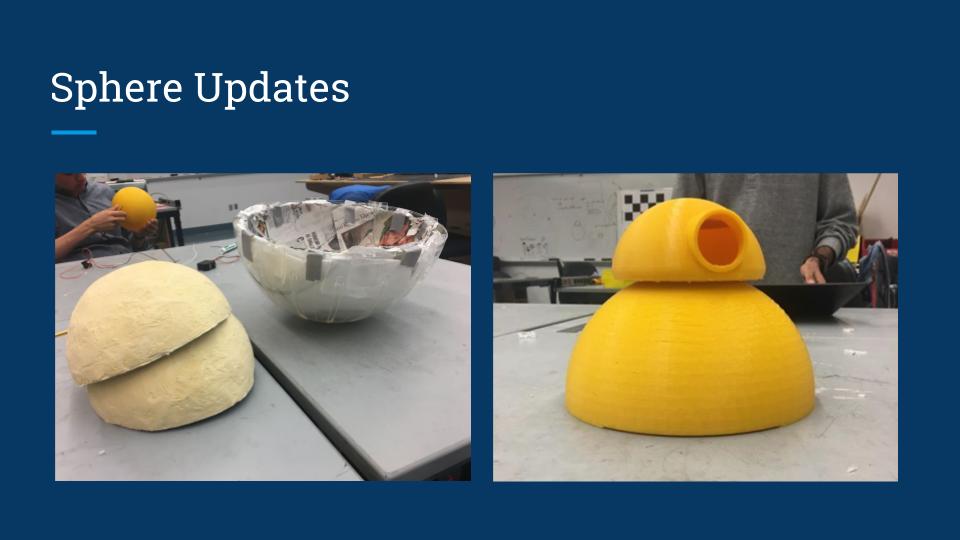
Sphere Update.
During sprint 2, we reconsidered how we were planning to manufacture our sphere. We tried several iterations of paper mache, but ended up deciding that 3D printing the sphere was the ideal method of manufacturing. In the images below you can see some of our paper mache prototypes, and then our 3D printed head and sphere.
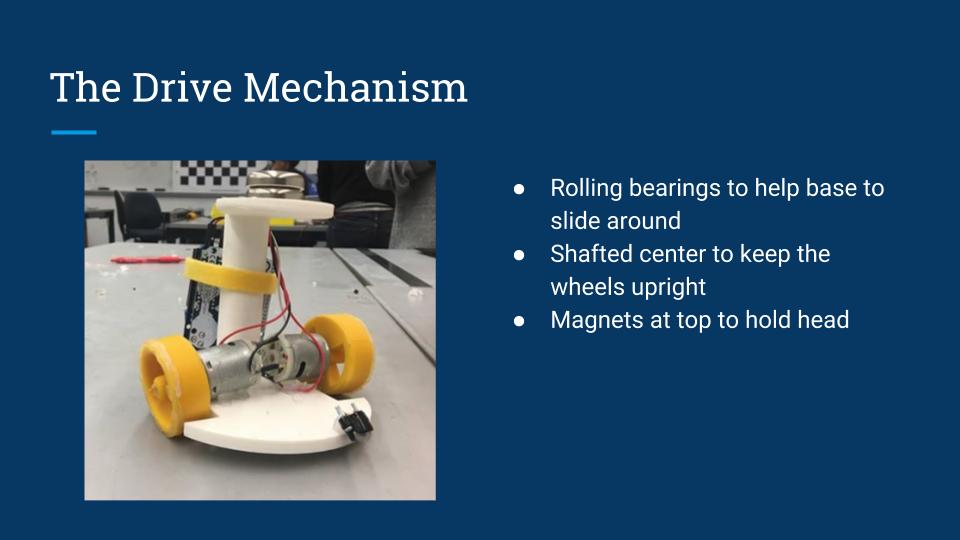
Driving Mechanism.
In addition to improving our sphere design, we also updated the driving mechanism inside of the sphere. The most significant upgrade we made was constructing a 3D printed wheel/motor mount. In the image below, you can see the first iteration of the 3D printed driving mechanism.
Communication.
In order to have communication between the head of the robot and the body, we used Wi-Fi chips. During this sprint we flashed the Wi-Fi chips, established that we can upload and connect to the Wi-Fi chips, and chose a standard communication protocol for the head to communicate with the body. We found that the best way to relay information was for both Wi-Fi chips to connect to a common web server and exchange information there.