The Mechanical System
Exploring the anatomy of Janis
Janis' mechanical design is based on the principles of simplicity, elegance, and transparency. The standard box structure assembled with butt joints and angle brackets capture simplicity and transparency. The mirror-finish, black acrylic paddles reflect elegance. The matte black acrylic paint mutes out the containing structure, drawing the attention of the user towards the movement of the paddles and the light that peeks out between them.
The Structure
Janis' external structure, measuring 28" x 30" x 10.72" is created from five rectangular pieces of 0.72" thickness birch plywood. The front board has a window that allows for the paddles to be seen, as well as holes where the proximity sensors detect people approaching Janis. The boards are assembled using butt joints and small 90° angle brackets attached using 0.5" countersink wood screws. The external faces of this assembly were painted using a black matte latex paint after being lightly sanded.
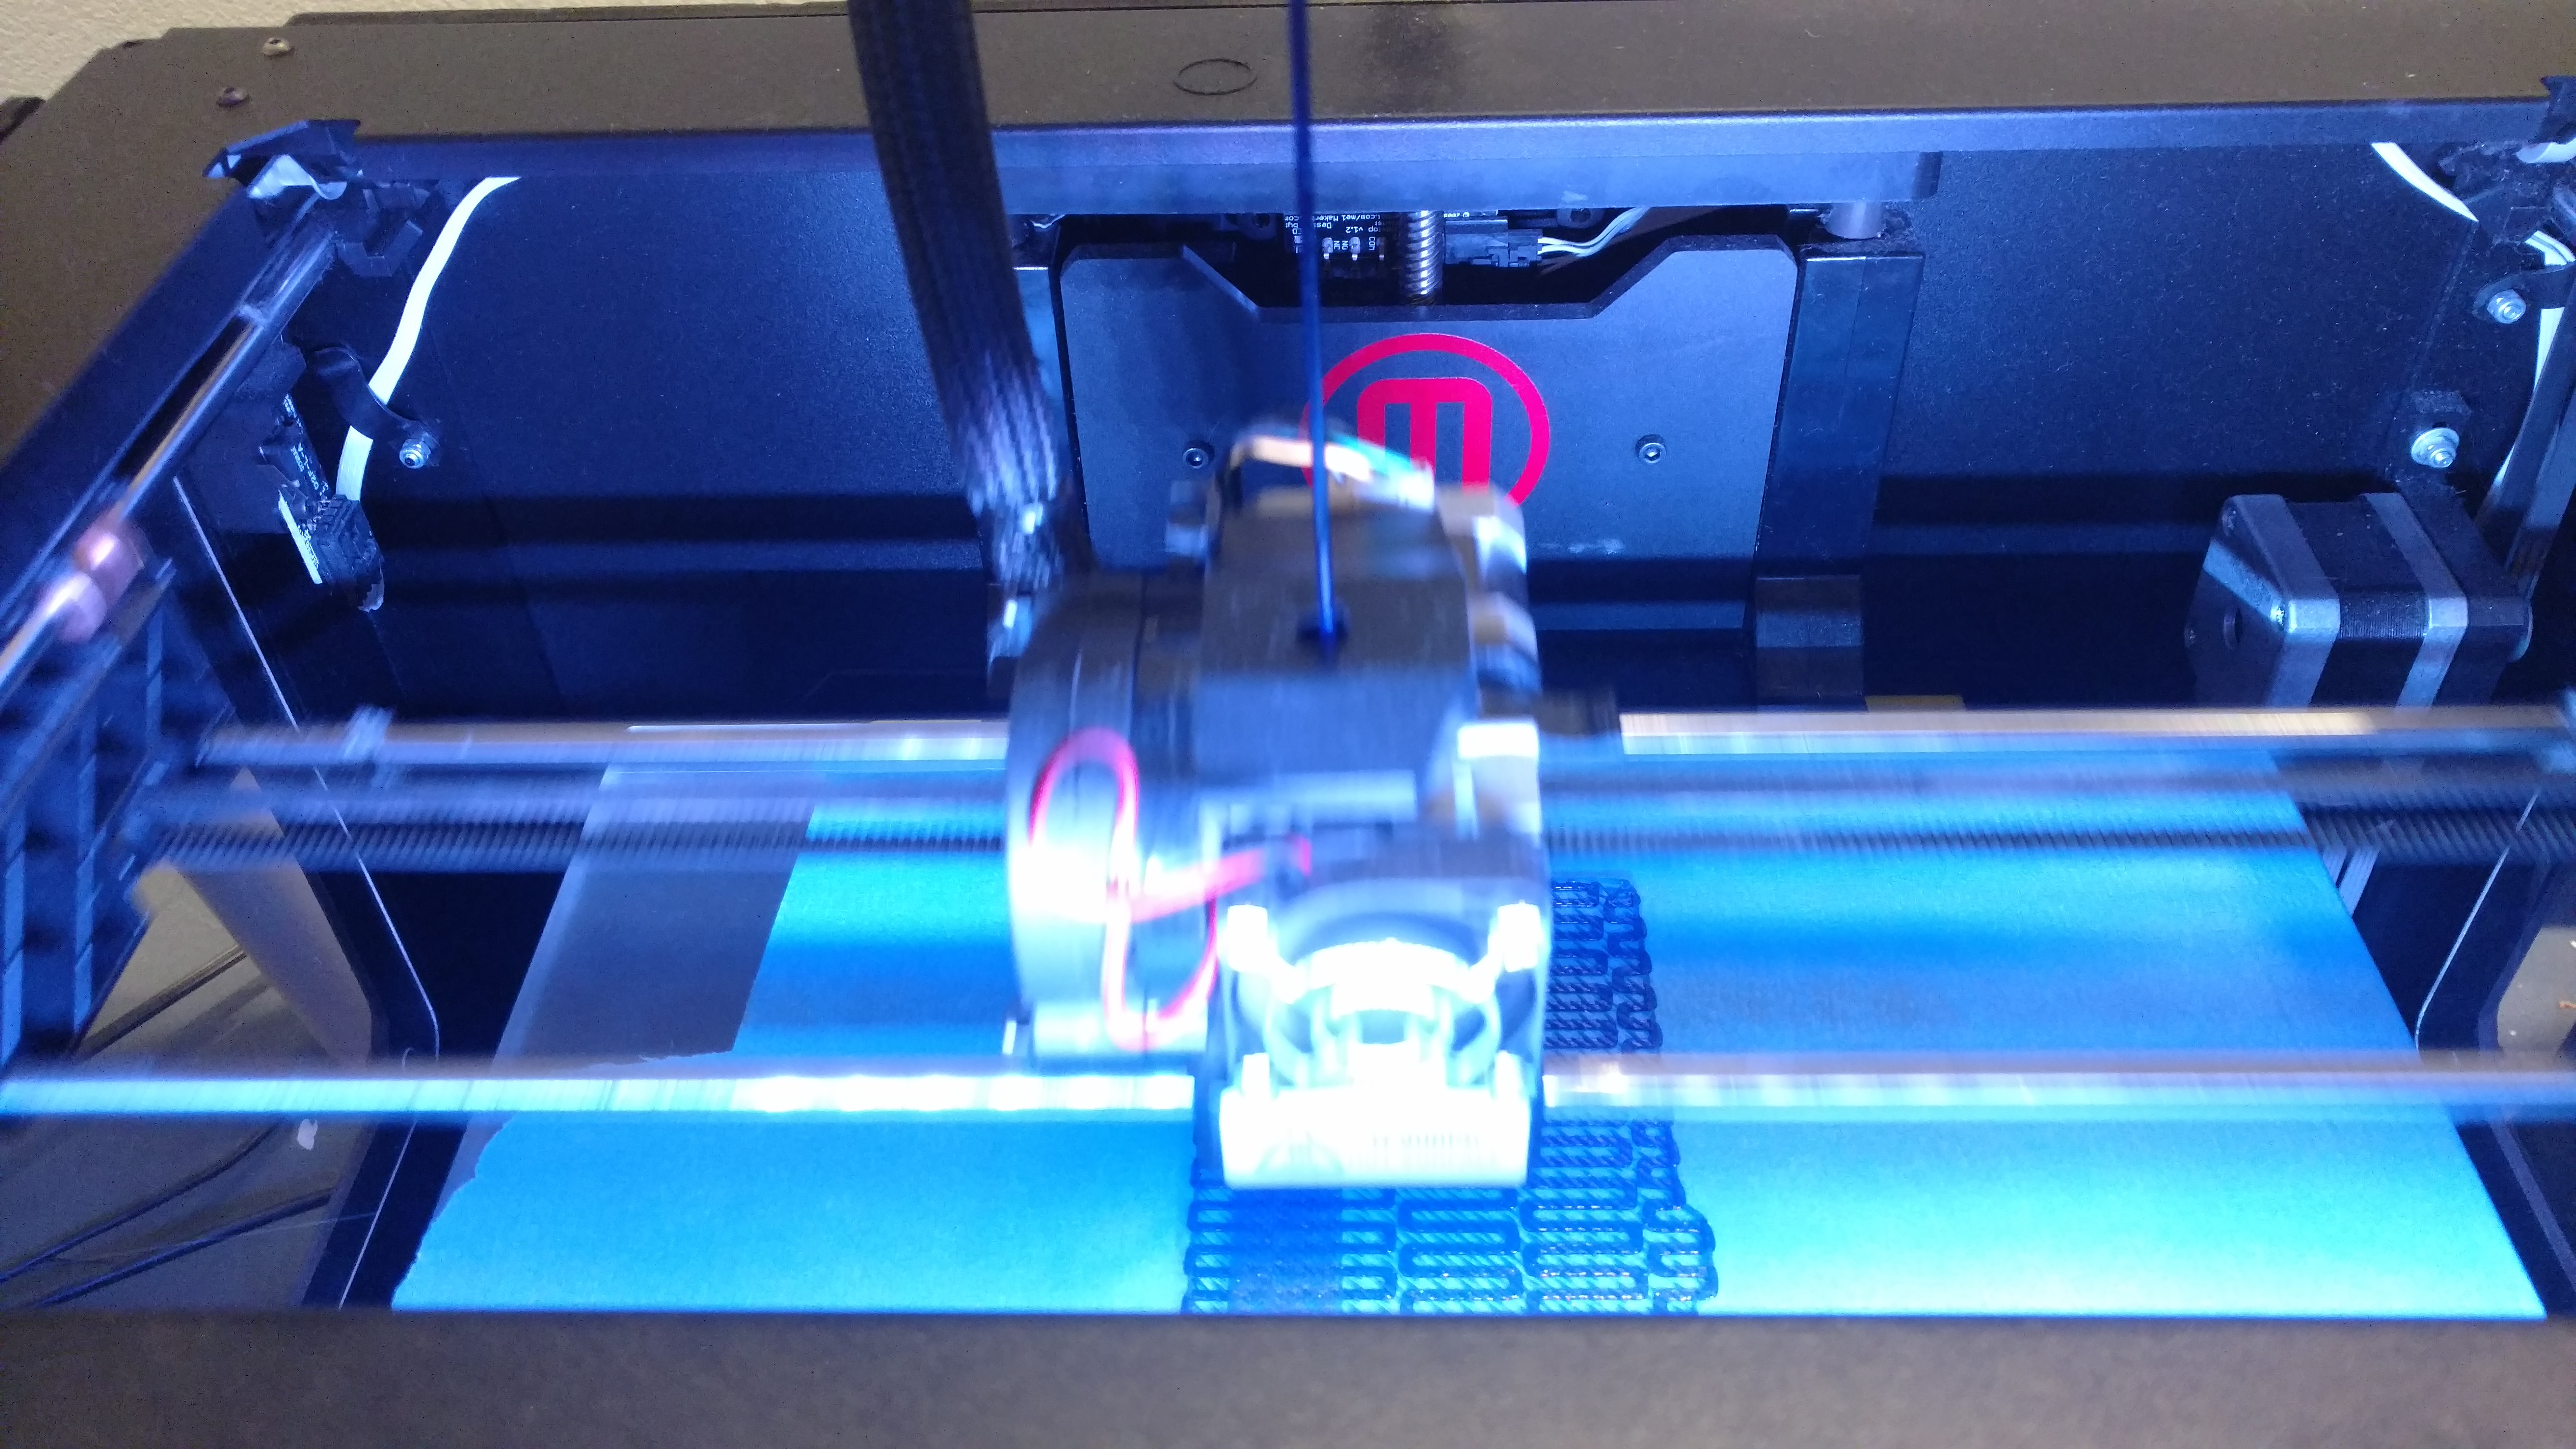
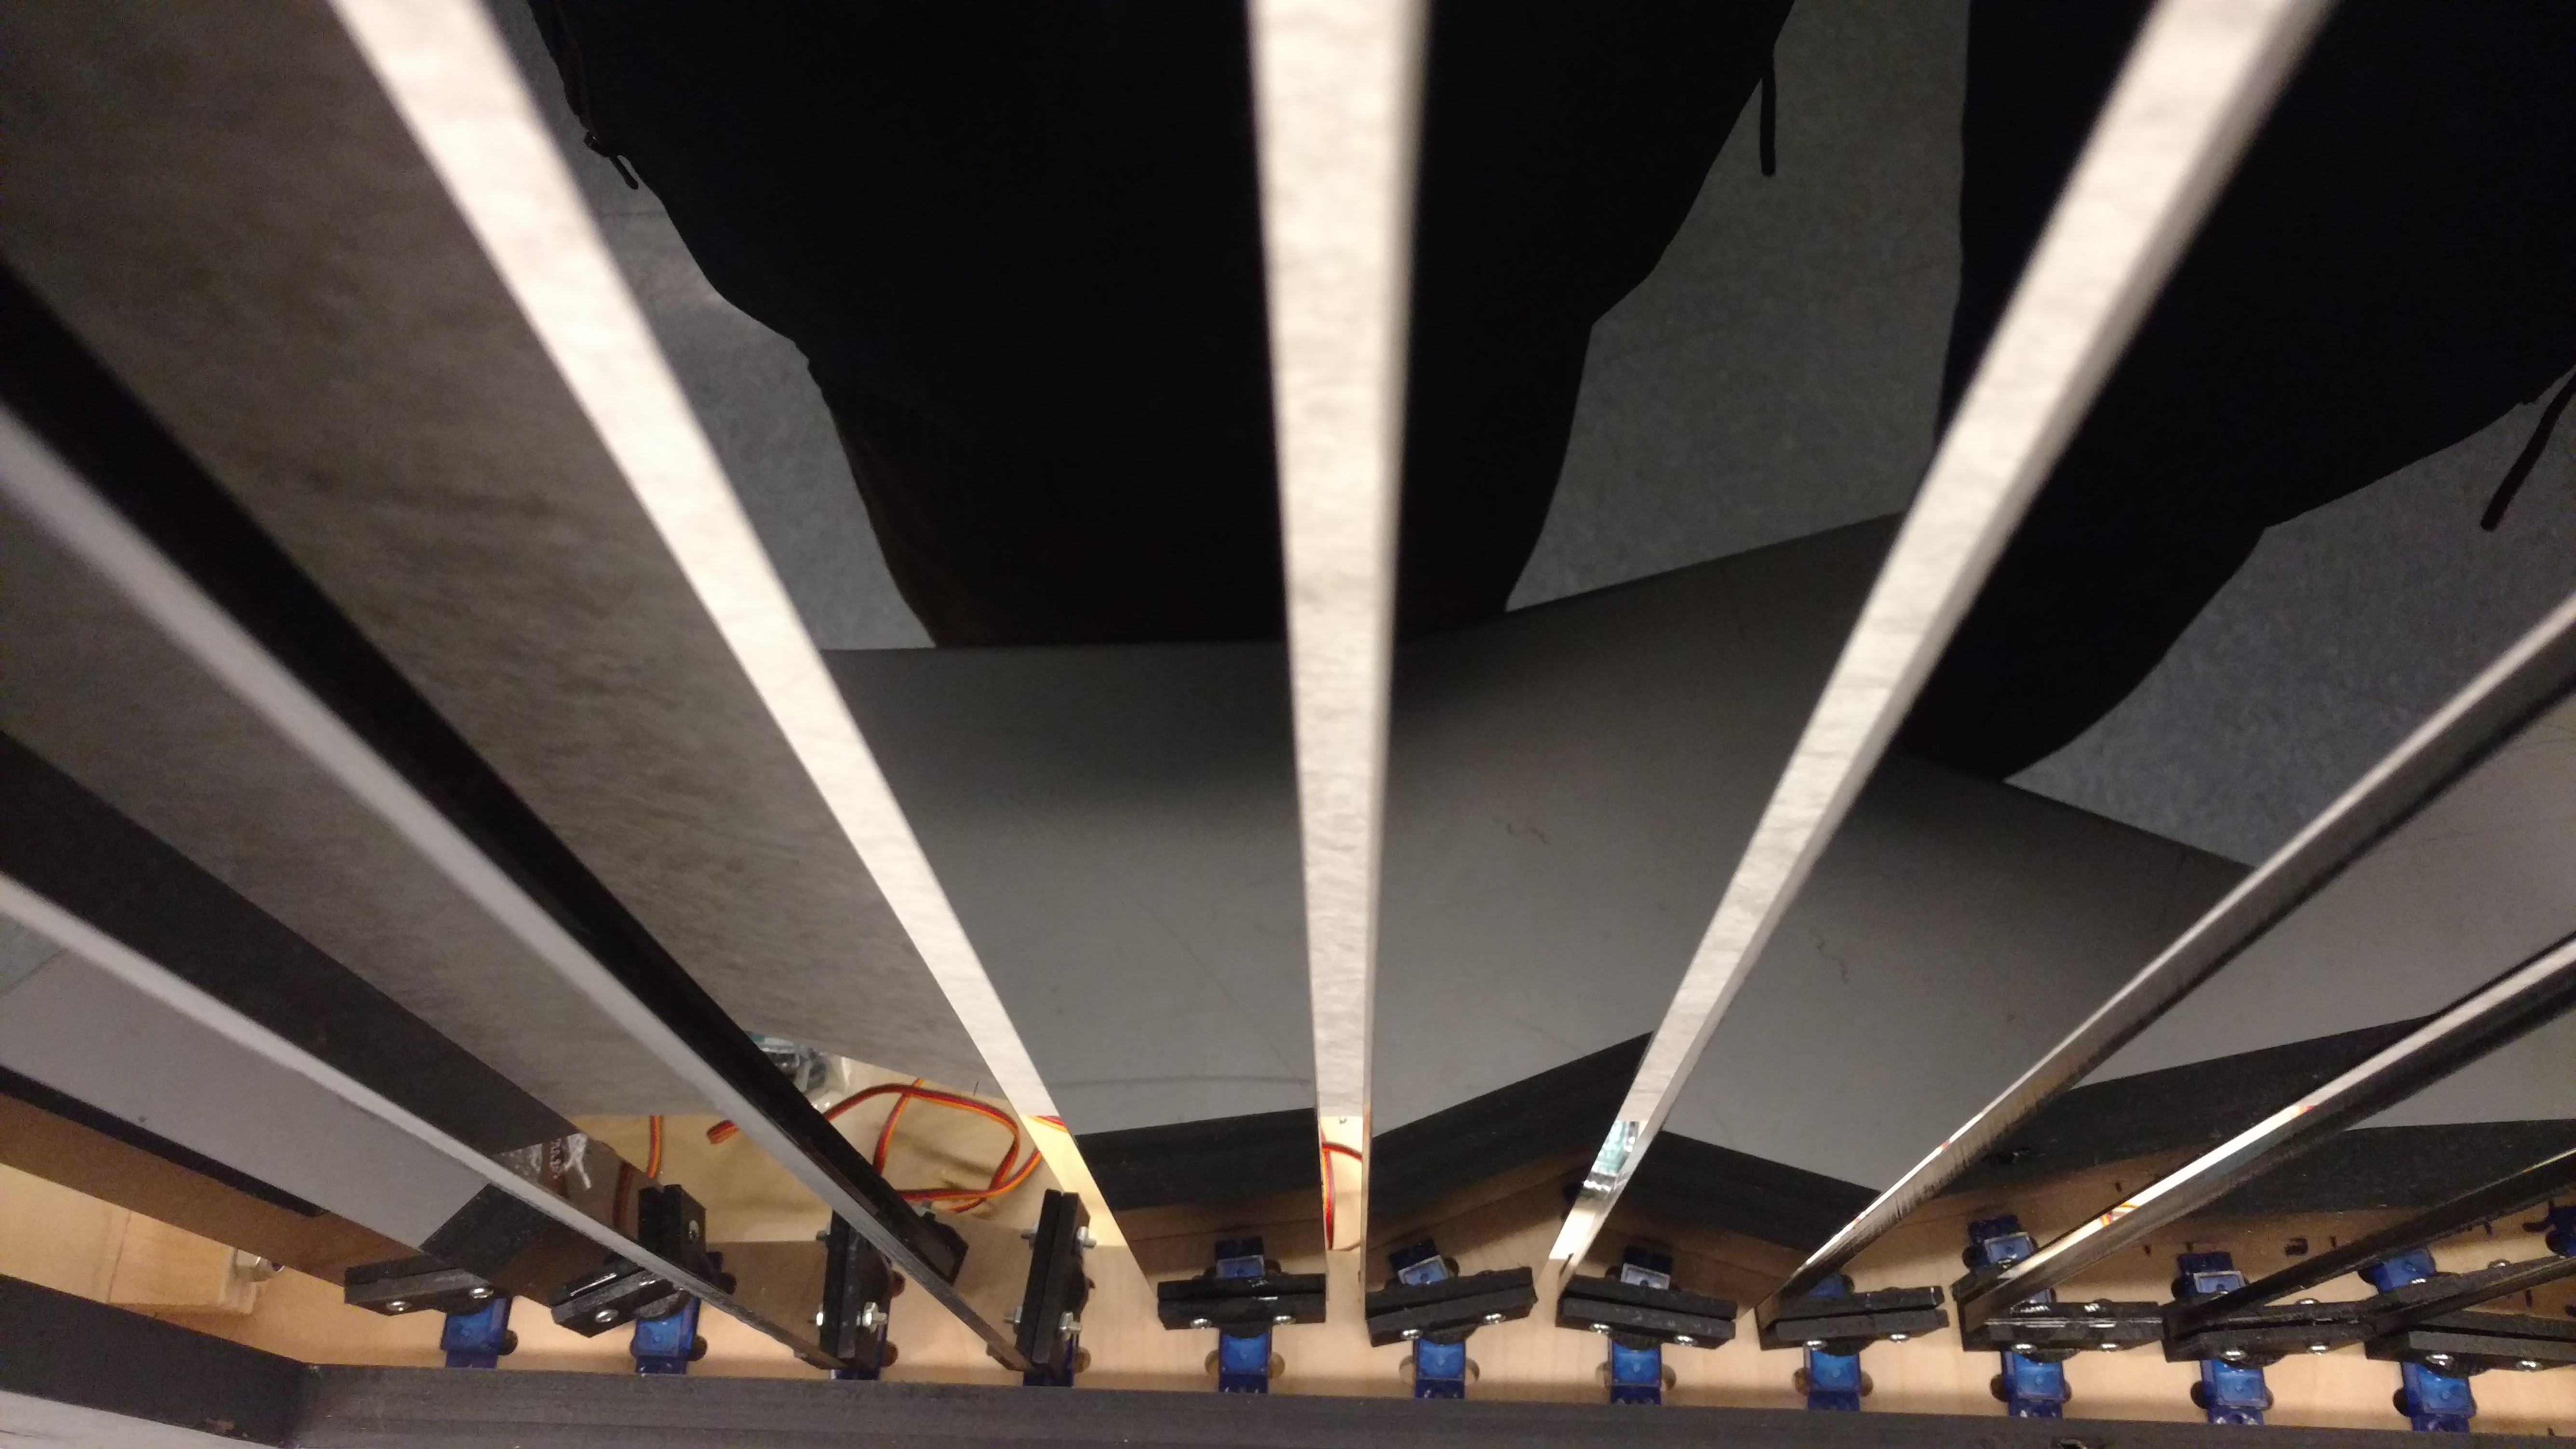
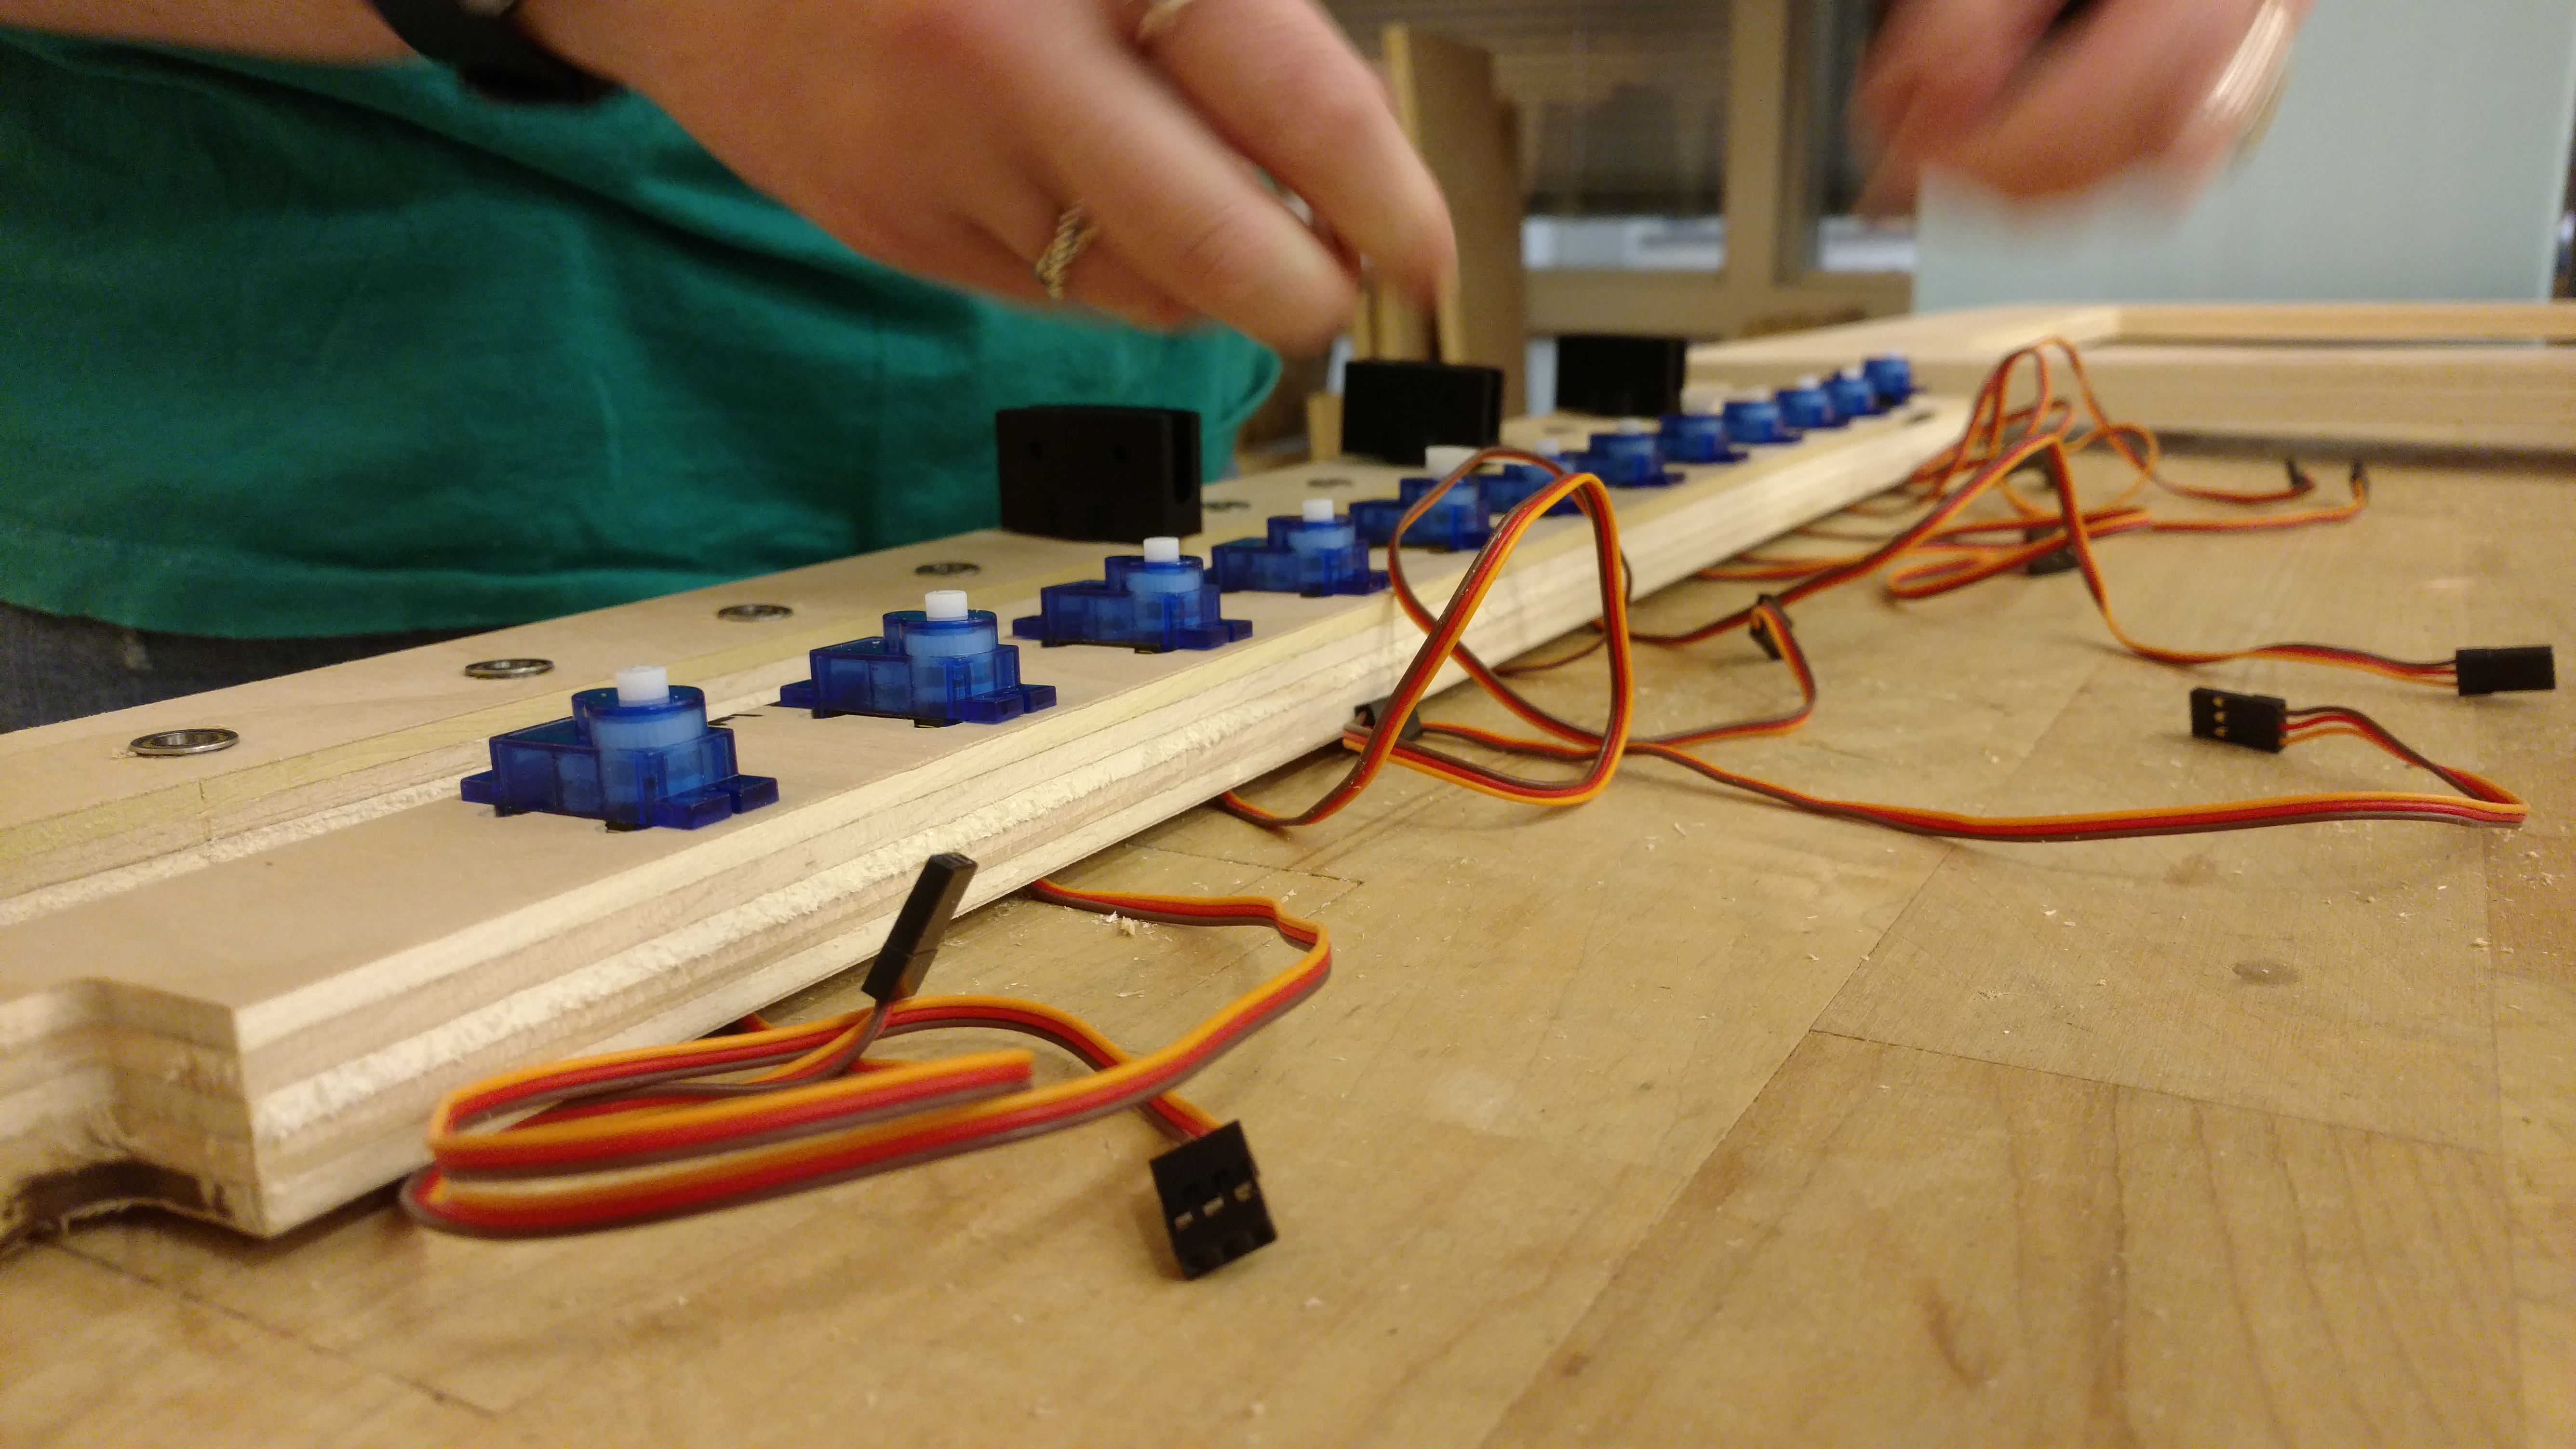
The .25" black acrylic paddles are supported by two birch plywood boards mounted to the front board mentioned above using four ¼-20 2.5" countersink stainless steel bolts, secured with lock nuts. The board below the paddles contains 12 servos press fitted into slots, allowing for their wires to stick out of the bottom of the board. A servo is attached to a paddle using a 3D printed adapter press-fitted with a single arm servo horn. The board above the paddles has a series of 12 bearings press fitted into it, spaced corresponding to the location of the servos on the other board. The paddle is fitted with another adapter outfitted with a protrusion that snaps into the bearing. This allows each paddle to be supported by a bearing while still being able to spin freely.
The diffuser mounted directly behind the paddles is a large sheet of white butcher paper stretched between two 0.25" wooden dowels. The paper is mounted to each dowel using a heat-sensitive adhesive and is wound to make the paper taut. Each dowel is supported by two small plywood adapters, which are mounted on each side of Janis using four ¼-20 2" black oxide hex-head bolts, secured with lock nuts.
The proximity sensors are press-fitted into the pockets created for them in the front board. Their wires run along the side boards down to the bottom of Janis. The entire electrical subsystem is secured to the bottom board using heat-sensitive adhesive.
Please find a zip file containing our entire CAD on Google Drive.