OpenCV
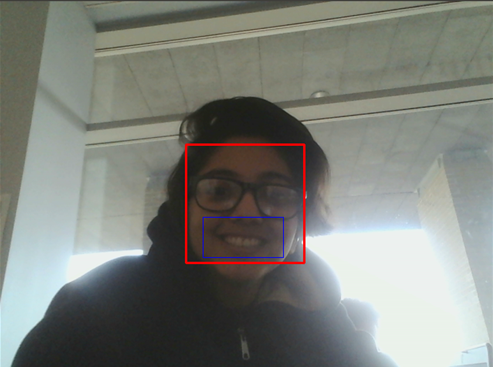
The active mode of our kinetic sculpture is controlled by the camera. Every time a user stands in front of the sculpture, the sculpture detects them and starts working in active mode. The team decided to track the smile of people as that is the most natural emotion to for the people to express when they meet/interact with the desktop companion.
We used a haarcascade, haar-features are digital image features , to track a face and to track an open mouth within the face. Let's say we need to detect an object. We do that with a classifier that gets trained on couple hundred images. The classifier, a cascade of boosted classifiers with digital image features, are first trained on cropped images of the same size containing the object we want to track. These images are called positive images. Yes, there are also negative images or negative area of images that can be used to increase the accuracy of the object detection.
Raspberry Setup
Setup
We choose to use a Raspberry Pi to allow our kinetic sculpture to function independently of a laptop. The Raspberry Pi is loaded with the default Raspbian Jesse OS. The “brain” of the kinetic sculpture is one python script that allows access to the webcam to run the facial and smile recognition script. Because the RaspPi has limited computational power when compared to our laptops, we process one in every 30 frames so the Pi isn’t hung up on finding faces for too long.
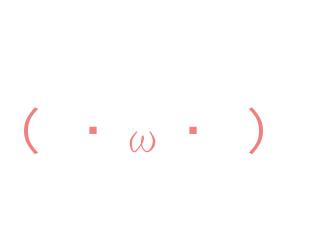
To give more personality to our sculpture, we bought a touchscreen for the Pi, so we could display various faces to interact with our user. For example, a happy face looks like:

And when the user touches the screen, the face changes.
The presence of the touchscreen adds an additional dimension of interaction between the user and the sculpture
Autoboot
We decided to give a character to the sculpture using the Raspberry PiTFT. It features a 3.2" display with 320x240 16-bit color pixels and a resistive touch overlay. We wanted to run the python script automatically after starting the graphical user interface in Pi and open the pygame window on the touchscreen window. The command startx launches the raspbian graphical user interface “LXDE”. What is of interest to us is autostart inside LXDE-pi. This file basically autoruns the commands on “startx”. So we add “@/home/pi/vision/face.py” after the very last line of autostart. Before testing the autostart, we need to change permissions on the face.py and make it executable. And then everything is set!