Our final goal was to create as functional, refined, and user-friendly a product as possible.
Demonstration
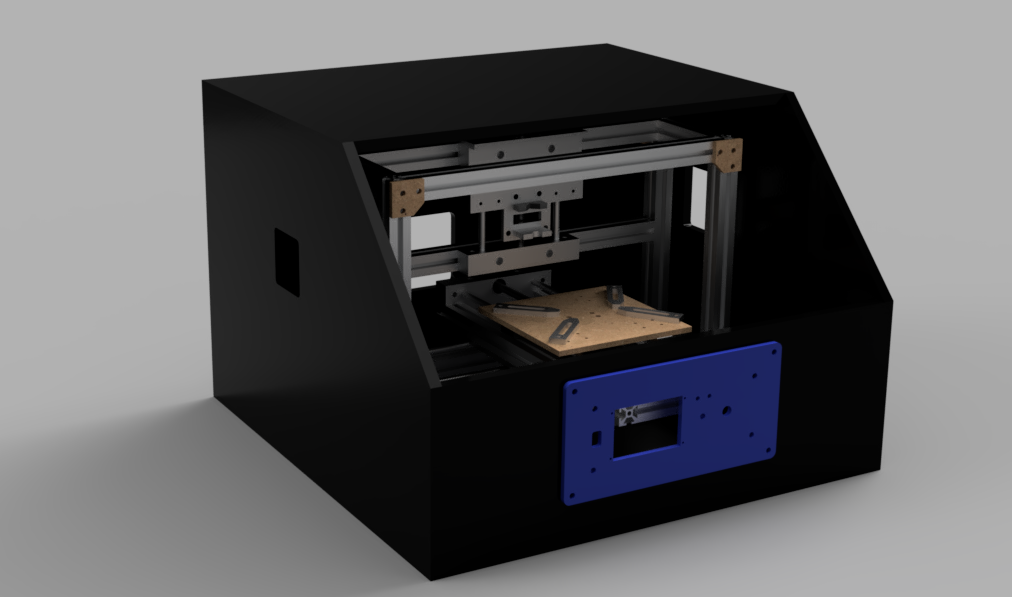
Mechanical
In the final stretch, designed and fabricated the safety housing and electronics housing. We drilled through-holes for all of the bolts in the frame and milled standoffs to hold the linear motion rods for each axis and integrated our waterjet aluminum plates.
Electrical
A PCB to light up LEDs we milled during the final sprint.
For the electronics, we focused on the process of wire management: we taped and heat shurnk segments of wires together in order to allow for easier integration with the mechanical housing. It allowed us to avoid problems we had previously such as wires wrapping around the mechanical systems. We also started to crimp cables to make our electrical connections more secure and effective. At the same time, there were still some weaknesses due to the large amount of magnetic wire underneath our protoboard.
.
Software
On the software side, we more fully integrated the Rasberry Pi system so that a user can plug in a USB flash drive and choose the most recent file on the drive by pressing a single button on a GUI on the touchscreen - the program will then recognize whether the file is a .gbr or .drl and process it accordingly. They can also elect to select a file from the machine file system. The user interface system is also enhanced by larger buttons on the RasberryPi application interface.
Alternatively, we also developed the option for the user to SSH into the RasberryPi remotely on their own laptop and start the milling process remotely - this is advantageous because users do not have to install dependencies to mill a PCB.