Food Dispenser
|
First Iteration
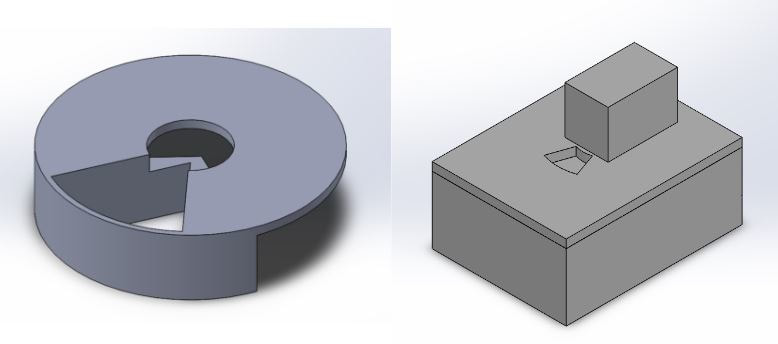
The bird food dispenser consists of 3 separate parts all made from 3D printed PLA: the hopper top plate, hopper bottom plate, and the dispenser wheel. When the opening of the Hopper Top and the Dispenser wheel align, bird food falls in. Using a HobbyKing Stepper motor, the dispenser wheel is is rotated, then aligning the opening of the wheel with mouth of the hopper bottom plate, dispensing the food onto the front of the bird feeder. During sprint 3, we added integration of the camera by using motion detection. If the camera detects movement at the front plate of the bird-feeder, the motor rotates and dispenses food. Some risks that come in including motion detection is the risk of scaring the birds away when the food is dispensed. But we decided as a team that the purpose of the project was the integration of all the different systems. Therefore, we believed that this was an important step to take in order to achieve those goals. |
Second Iteration
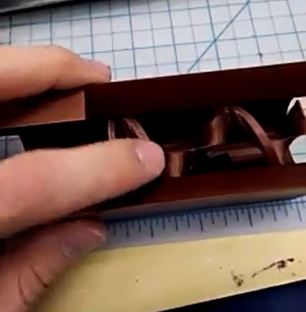
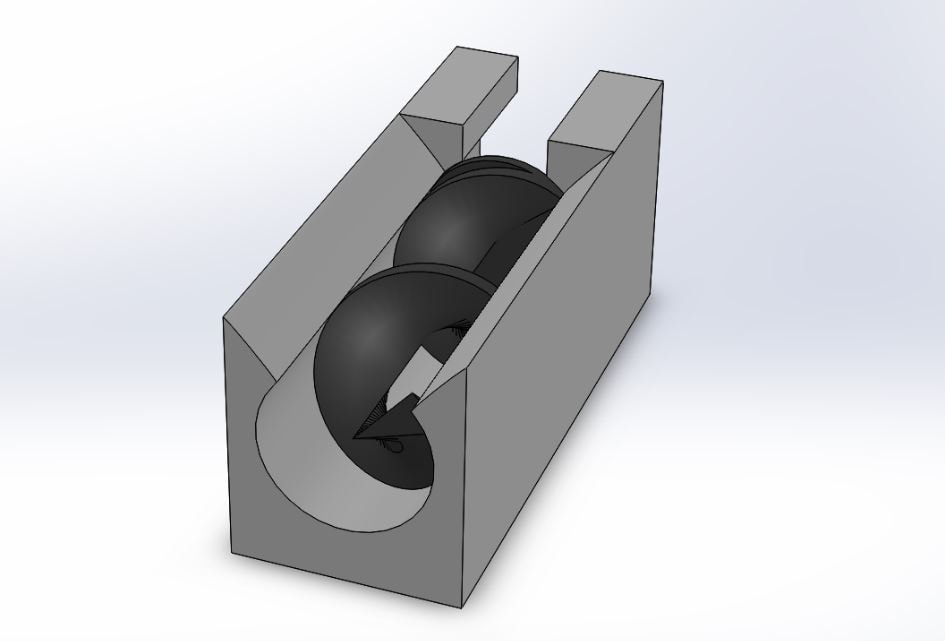
Because of the low amount of food that the dispenser would dispense during our tests we iterated over its design and came up with the idea to use a Archimedes screw that transports the bird food out of the food container onto the front plate of the feeder. We implemented this method, and upon seeing the success of the design, decided to use it as the final iteration. |
Enclosure Design
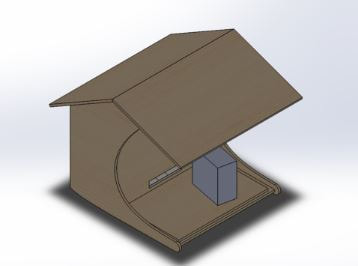
Our enclosure design has changed quite a bit from what we planned originally, to what our final product was. Started with bird house incorporating all major aspects (hole size, volume, etc) that sized to be around 5 x 5 x 8” structure.
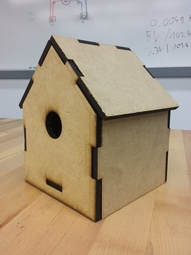
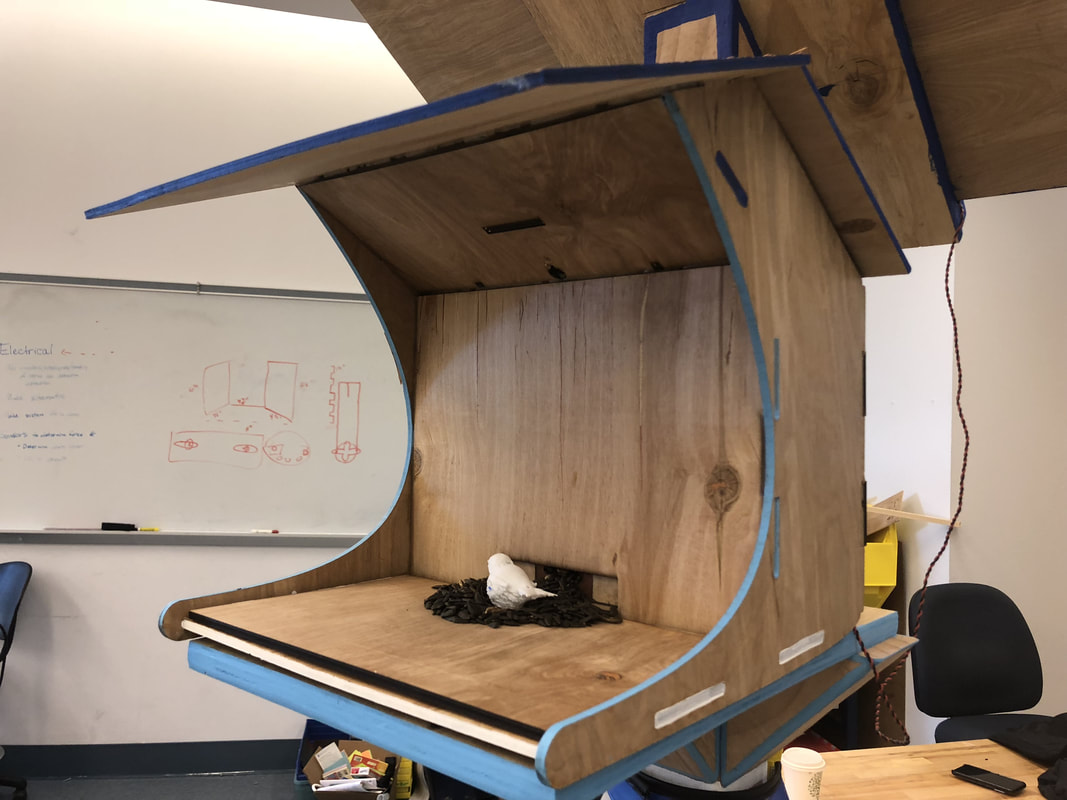
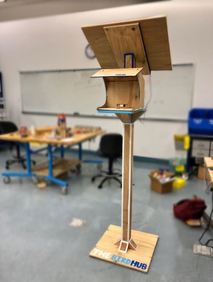
After meeting with an ornithologist, we decided to change directions and build a bird-feeder rather than birdhouse. By Demo Day, our design completely changed and we ended with a more open house like structure shown in the following pictures. All of the pieces were laser-cut at Olin and assembled using wood-glue. And finally, paint was added on the borders for aesthetic purposes.
After meeting with an ornithologist, we decided to change directions and build a bird-feeder rather than birdhouse. By Demo Day, our design completely changed and we ended with a more open house like structure shown in the following pictures. All of the pieces were laser-cut at Olin and assembled using wood-glue. And finally, paint was added on the borders for aesthetic purposes.
The Mount
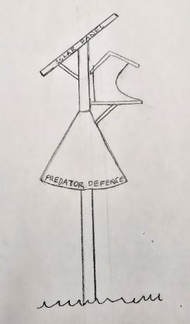
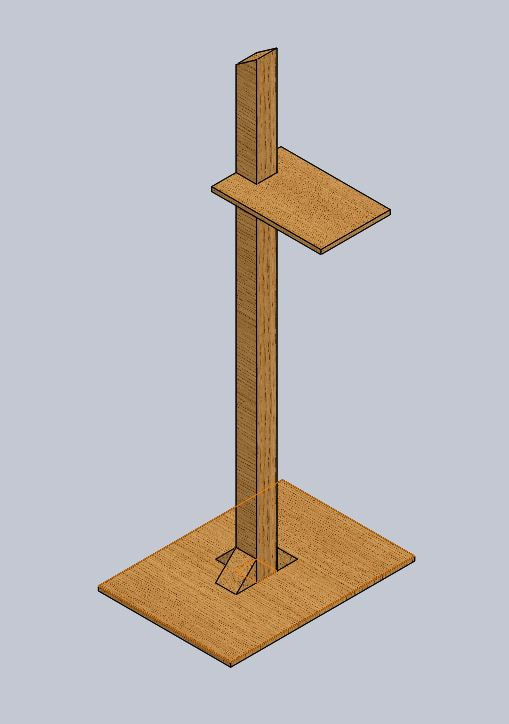
Regarding the mount we decided on using wood due to its natural appeal and biodegradability compared to metal as our material. We designed the mount as one pole holding the bird feeder on one side with the solar panel mounted on the top. For the pole we used a 4” x 4” x 8 ft wide wooden beam to support the weight of our solar panel. As pole-mounted feeders should be about five feet off the ground [http://www.audubon.org/news/bird-feeding-tips, point 8], we cut off a 5ft long part to use as our pole . We used the rest of the beam to cut out wedges that would hold the plate for the bird feeder aside the pole and the pole on its bottom plate.
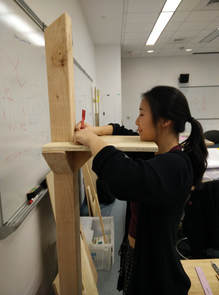
To provide enough support to hold 5 pound of bird seeds inside a wooden feeder structure we used 2.5 inch thick plywood panels. Instead of just mounting one rectangular to one side of the pole by using a metal angle, we cut out the poles shape on one edge of the panel, so that the pole would be able to slide in. By building it like this we also increased the mounting surface of the panel. We then attached 3 wedges between pole and panel with wood screws.
To provide enough support to hold 5 pound of bird seeds inside a wooden feeder structure we used 2.5 inch thick plywood panels. Instead of just mounting one rectangular to one side of the pole by using a metal angle, we cut out the poles shape on one edge of the panel, so that the pole would be able to slide in. By building it like this we also increased the mounting surface of the panel. We then attached 3 wedges between pole and panel with wood screws.
