Graphical User Interface
|
|
The HennaBot's software platform is built off of open source technologies, including OpenCV, Python, and Arduino. We provide a GUI which allows the artist to see the hand image via the webcam input, and adjust certain threshold parameters, and draw, and export for print. This addresses our goal of user choosing and creating designs. Below is the walk-through of the software's main functionality. |
Thresholding
|
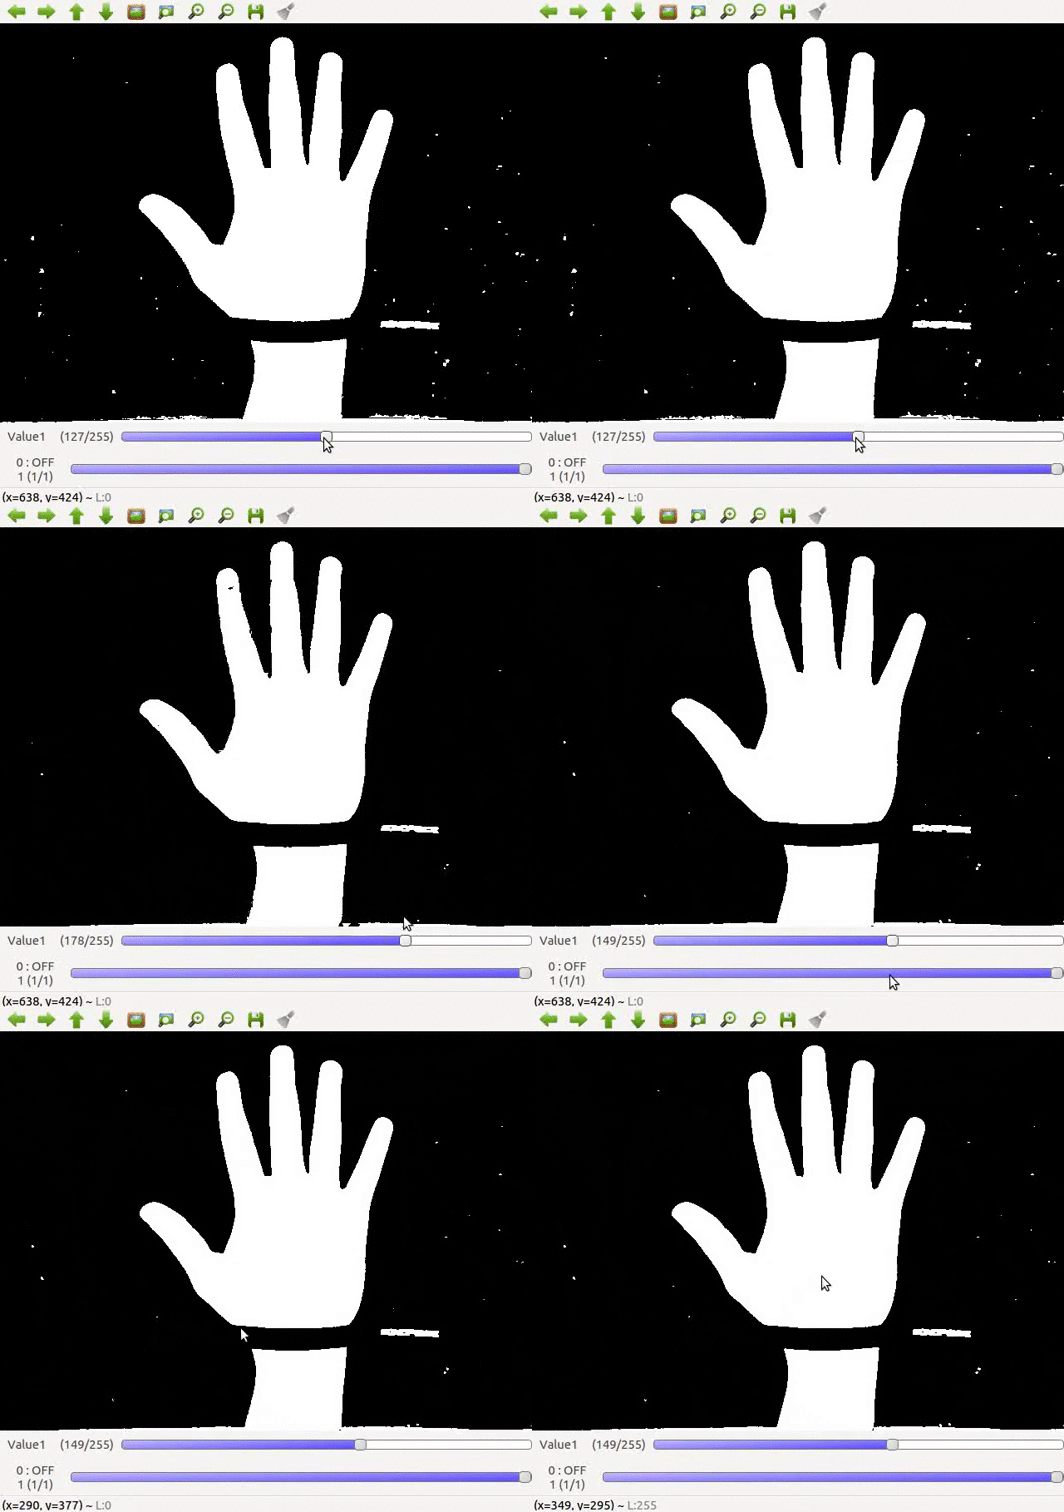
The artist begins by positioning the user's hand on in the HennaBot's housing. The camera feed opens, and users may use the OpenCV to adjust thresholding parameters. Ideally, this allows the artist to give a clear distinction between the user's hand and the black felt background. This comes in handy later for the actual drawing phase, because it prevents users from drawing designs off of their hands. After the artist is satisfied with the contrast, they move to the next phase by hitting the "s" key to save the image and advance forward. |
Drawing
|
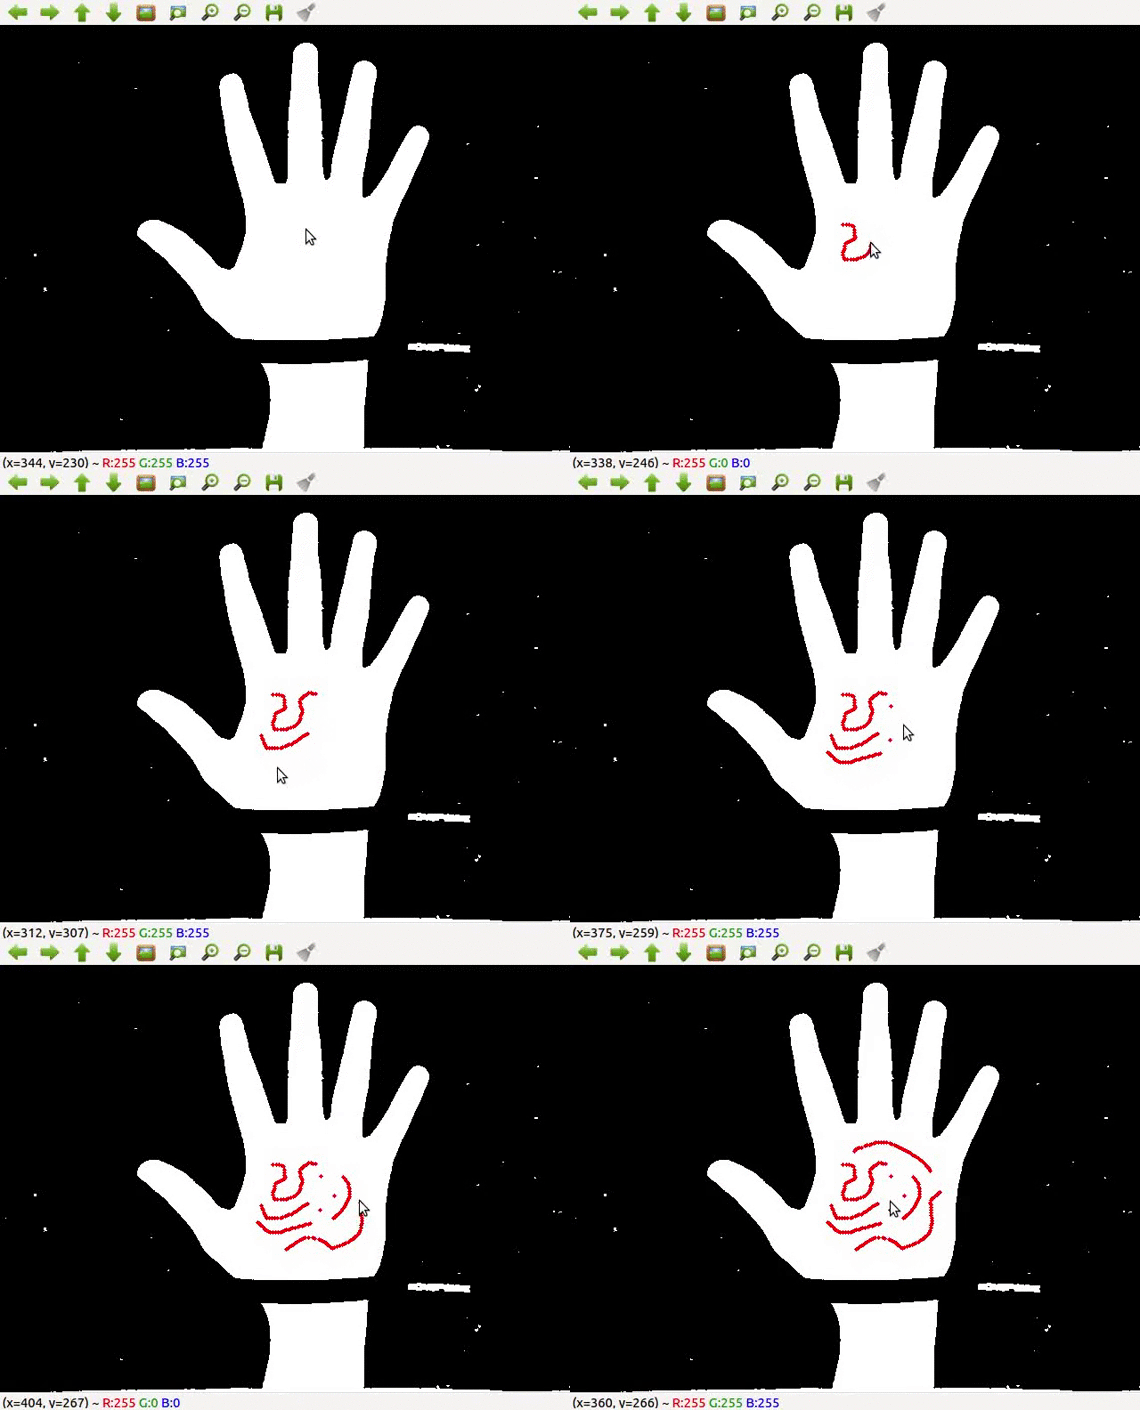
After finding the right threshold value so the user's hand is perfect to begin with, the GUI enters in the the drawing phase. The use of the binary threshold is that only the white regions are areas which can be drawn on, eliminating any possibility of the design leaving the hand. This will help keep HennaBot clean and ready for multiple uses. Here, the artist makes the design/pattern which they wish to print onto the user's hand, simply by clicking and dragging to draw strokes or just clicking for dots. The red circles represent the coordinates which the HennaBot would then use to plot and print the henna onto the hand. Throughout the drawing phase, the code running in the background logs the points which the user wants and stores them accordingly. |
Communication
|
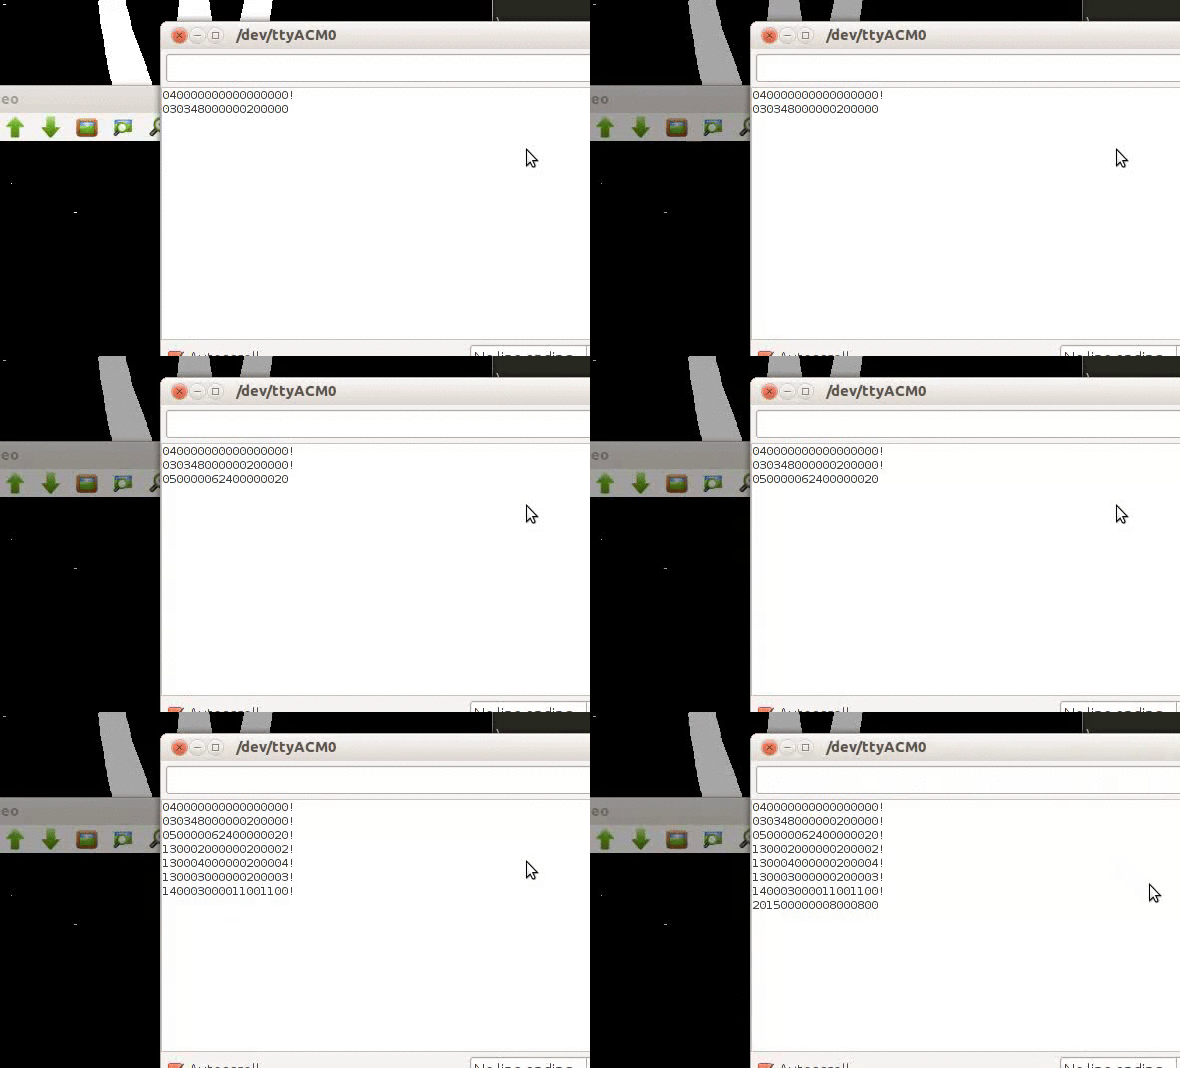
Via the power of PySerial, a python package which allows serial port communication with other devices, we can send the commands which explain to the HennaBot how to print the Henna design! Parsing through the hierarchy of coordinate logic, a series of instructions are packaged and sent systematically to the Arduino Uno micro controller (which controls the motors for X, Y, and extrusion motors) over the serial port. The serial monitor shows the Arduino receiving commands.
Command Definitions:
|
Firmware
The Arduino Firmware was broken up into multiple chunks - the Z axis control, henna extrusion, and XY axis gantry control. Essentially, we have code which controls the XY position motors based on the drawing instructions which were sent via PySerial, and then Z axis control which is based on the feedback from an IR sensor, which checks the syringe's distance from the hand. In order to find the proper IR reading for optimal henna printing, we tested this system on several people's hands. The henna is extruded when it receives the go-ahead from both the feedback loop and the drawing commands.
Challenges in Development
|
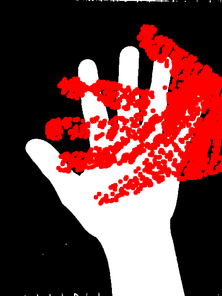
Drawing: Initially, the ability to draw on the image was proving to be erratic, and it seemed the binary thresholding was not behaving as we expected. Though we had encoded the inability to draw in a black region, coordinates were still appearing. This was still a problem when we didn't draw in the dark regions. Eventually, we found that the image was being transformed inconveniently, and the drawing rules were being applied to a rotated image, resulting in the picture to the left. Though humorous in appearance, this bug gave us quite the headache. We fixed this bug with OpenCV by flipping our x and y coordinates. |
Communication:
We had lots of struggles in this front. The initial plan was to constantly ping the Arduino when we wanted to move a stepper motor a single step, but then we quickly realized that due to the lag in serial communication and the need to control both motors with speed and coordination, this was not the best option. Instead, we condensed the pixel coordinate series into a list of commands which the Arduino could interpret and execute. This decision also brought on a slew of challenges including efficiently encoding the concepts of "strokes" and "dots," as well as the transitions between each. We encountered additional difficulties with sending the commands to Arduino over the serial port. When too much information was sent to it, the serial buffer would overflow quickly and fail to send everything. Using a call-and-response system between Arduino and PySerial, we resorted to a system of delaying the sending of the commands based on the python code's estimation of how long the Arduino would take to execute and flush the given commands. All in all, the communication portion of this project was solved creatively after several tests and iterations.
Calibration:
After quickly realizing that the motor steps and pixels and real life distance measures did not all line up nicely, we decided to calibrate our HennaBot appropriately. This proved to be challenging, because the camera was extremely sensitive to movement during the process. In addition to this, our findings showed that the x and y axis steps were each not the same distance, meaning that we had to scale our commands accordingly and differently by direction. After figuring our how pixels map to inches, and how step also map to inches, we were able to demonstrate there were a set of ideal parameters which we could use to scale our image accordingly for the transition from drawing to printing to happen logically. Eventually, we realized that we needed to tune these parameters, as the scaling was in fact variable based on the state of the HennaBot, meaning that a recalibration would often ensue with each new use.
Calibration involving the z axis motion was done with multiple types of hands, skin colors, and orientations of hand position. Essentially, the z axis was thresholded to be within a certain range of IR sensor values. The idea was to keep the syringe in a "goldilocks" zone in which henna extrusion could happen feasibly while not prodding the hand.
Goals for Future Iterations
- Preset, Selectable, and Scaleable Designs
- Live Printing Video Feed
- Basic GUI drawing tools (copy, paste, undo, etc.)
- Loading Screen as print progresses


