Design Overview

We built a precision drawing tool designed to decorate eggs. Drawings in Inkscape are scaled and converted to machine code via a streamlined Inkscape plugin. The drawing tool is a 3-axis CNC that draws the input image onto the egg, with the capability to draw custom shapes such as ellipses, lines, and bezier curves. The end result is a proportional and repeatable replica of the input image drawn on the egg.

Mechanical

We started this project with the goal of using rapid prototyping technologies as much as possible. For our earliest prototypes, this meant prototyping with cardboard and hot glue. After validating our initial designs, we quickly turned to laser cutting and 3D printing. These became our go-to methods of fabrication. We found that ¼” plywood has the perfect balance of rigidity and cost effectiveness. For non-planar parts, we used Olin’s Makerbots. This approach allowed us to quickly evaluate and iterate on prototypes.

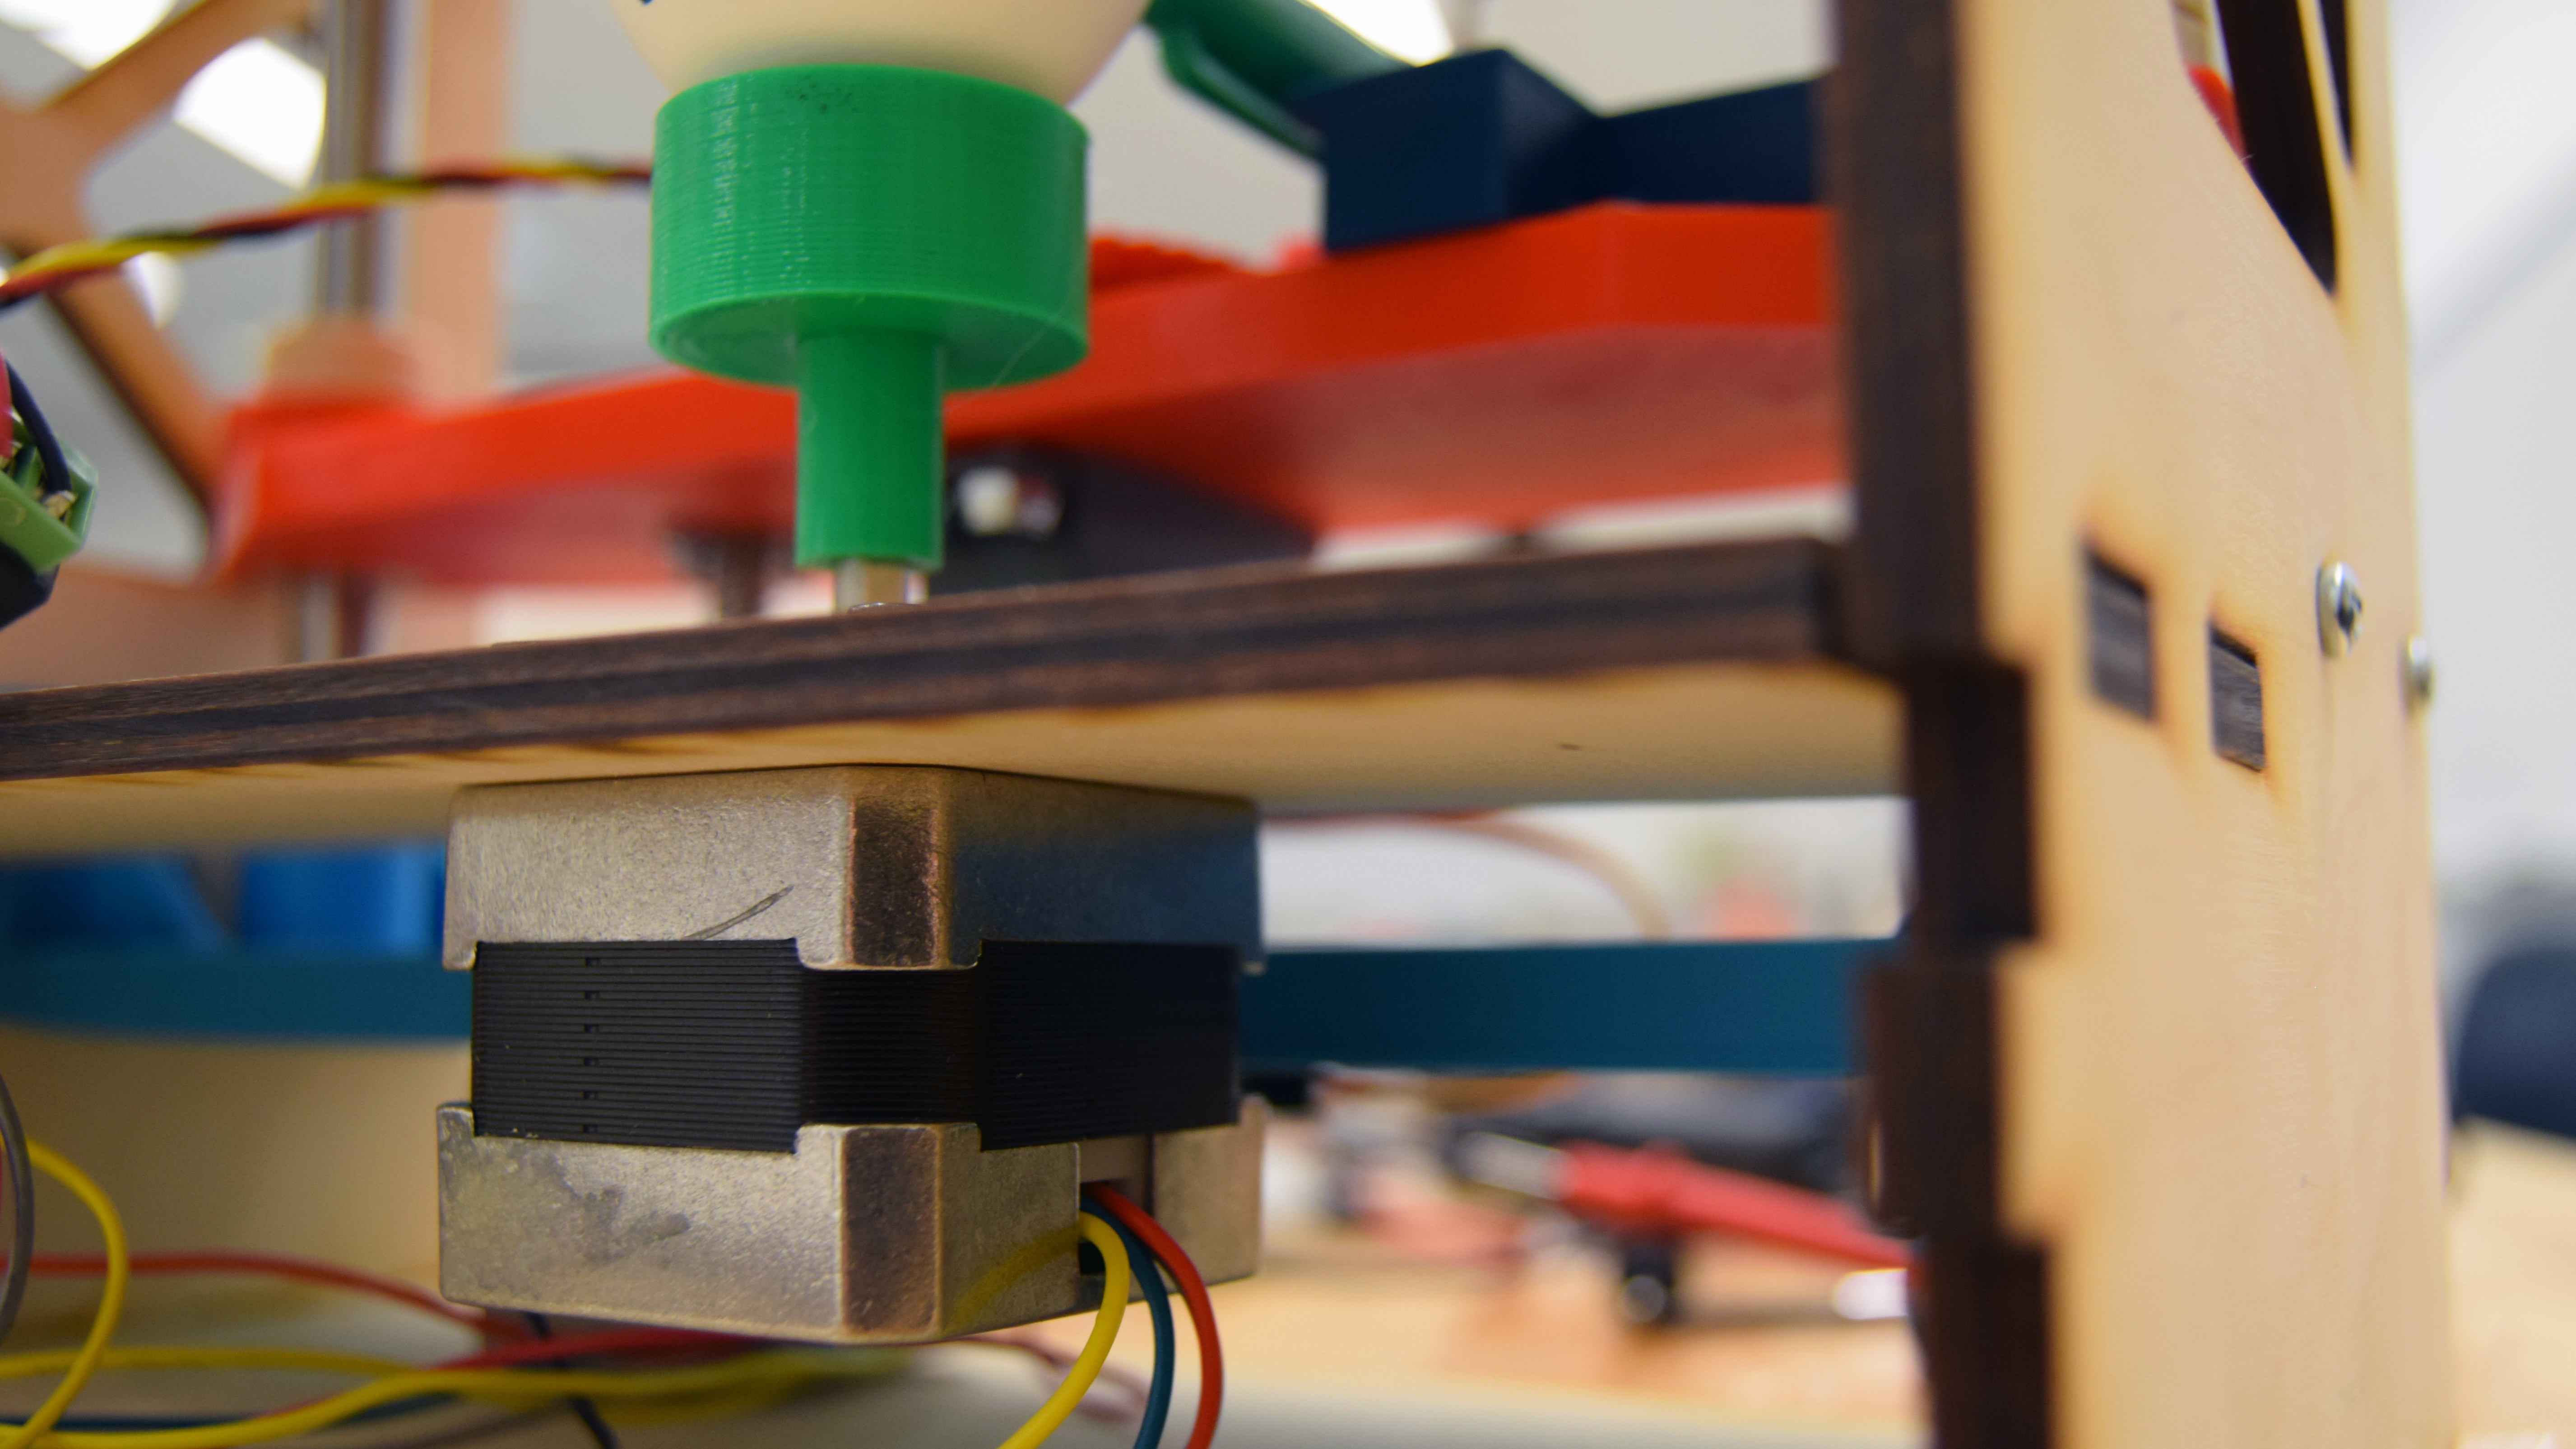
The machine’s most important axis is also the simplest. Our egg rotation system is made up of only five parts. We are using two custom 3D printed “holders” that clamps the egg in place. The top holder is spring loaded, and has a bearing to keep it concentric. The bottom holder is press fit onto a stepper motor. We experimented with o-rings and rubber bands to add friction between the egg’s surface and our 3D printed parts, but found that a ring of hot glue actually works best to keep the egg aligned.

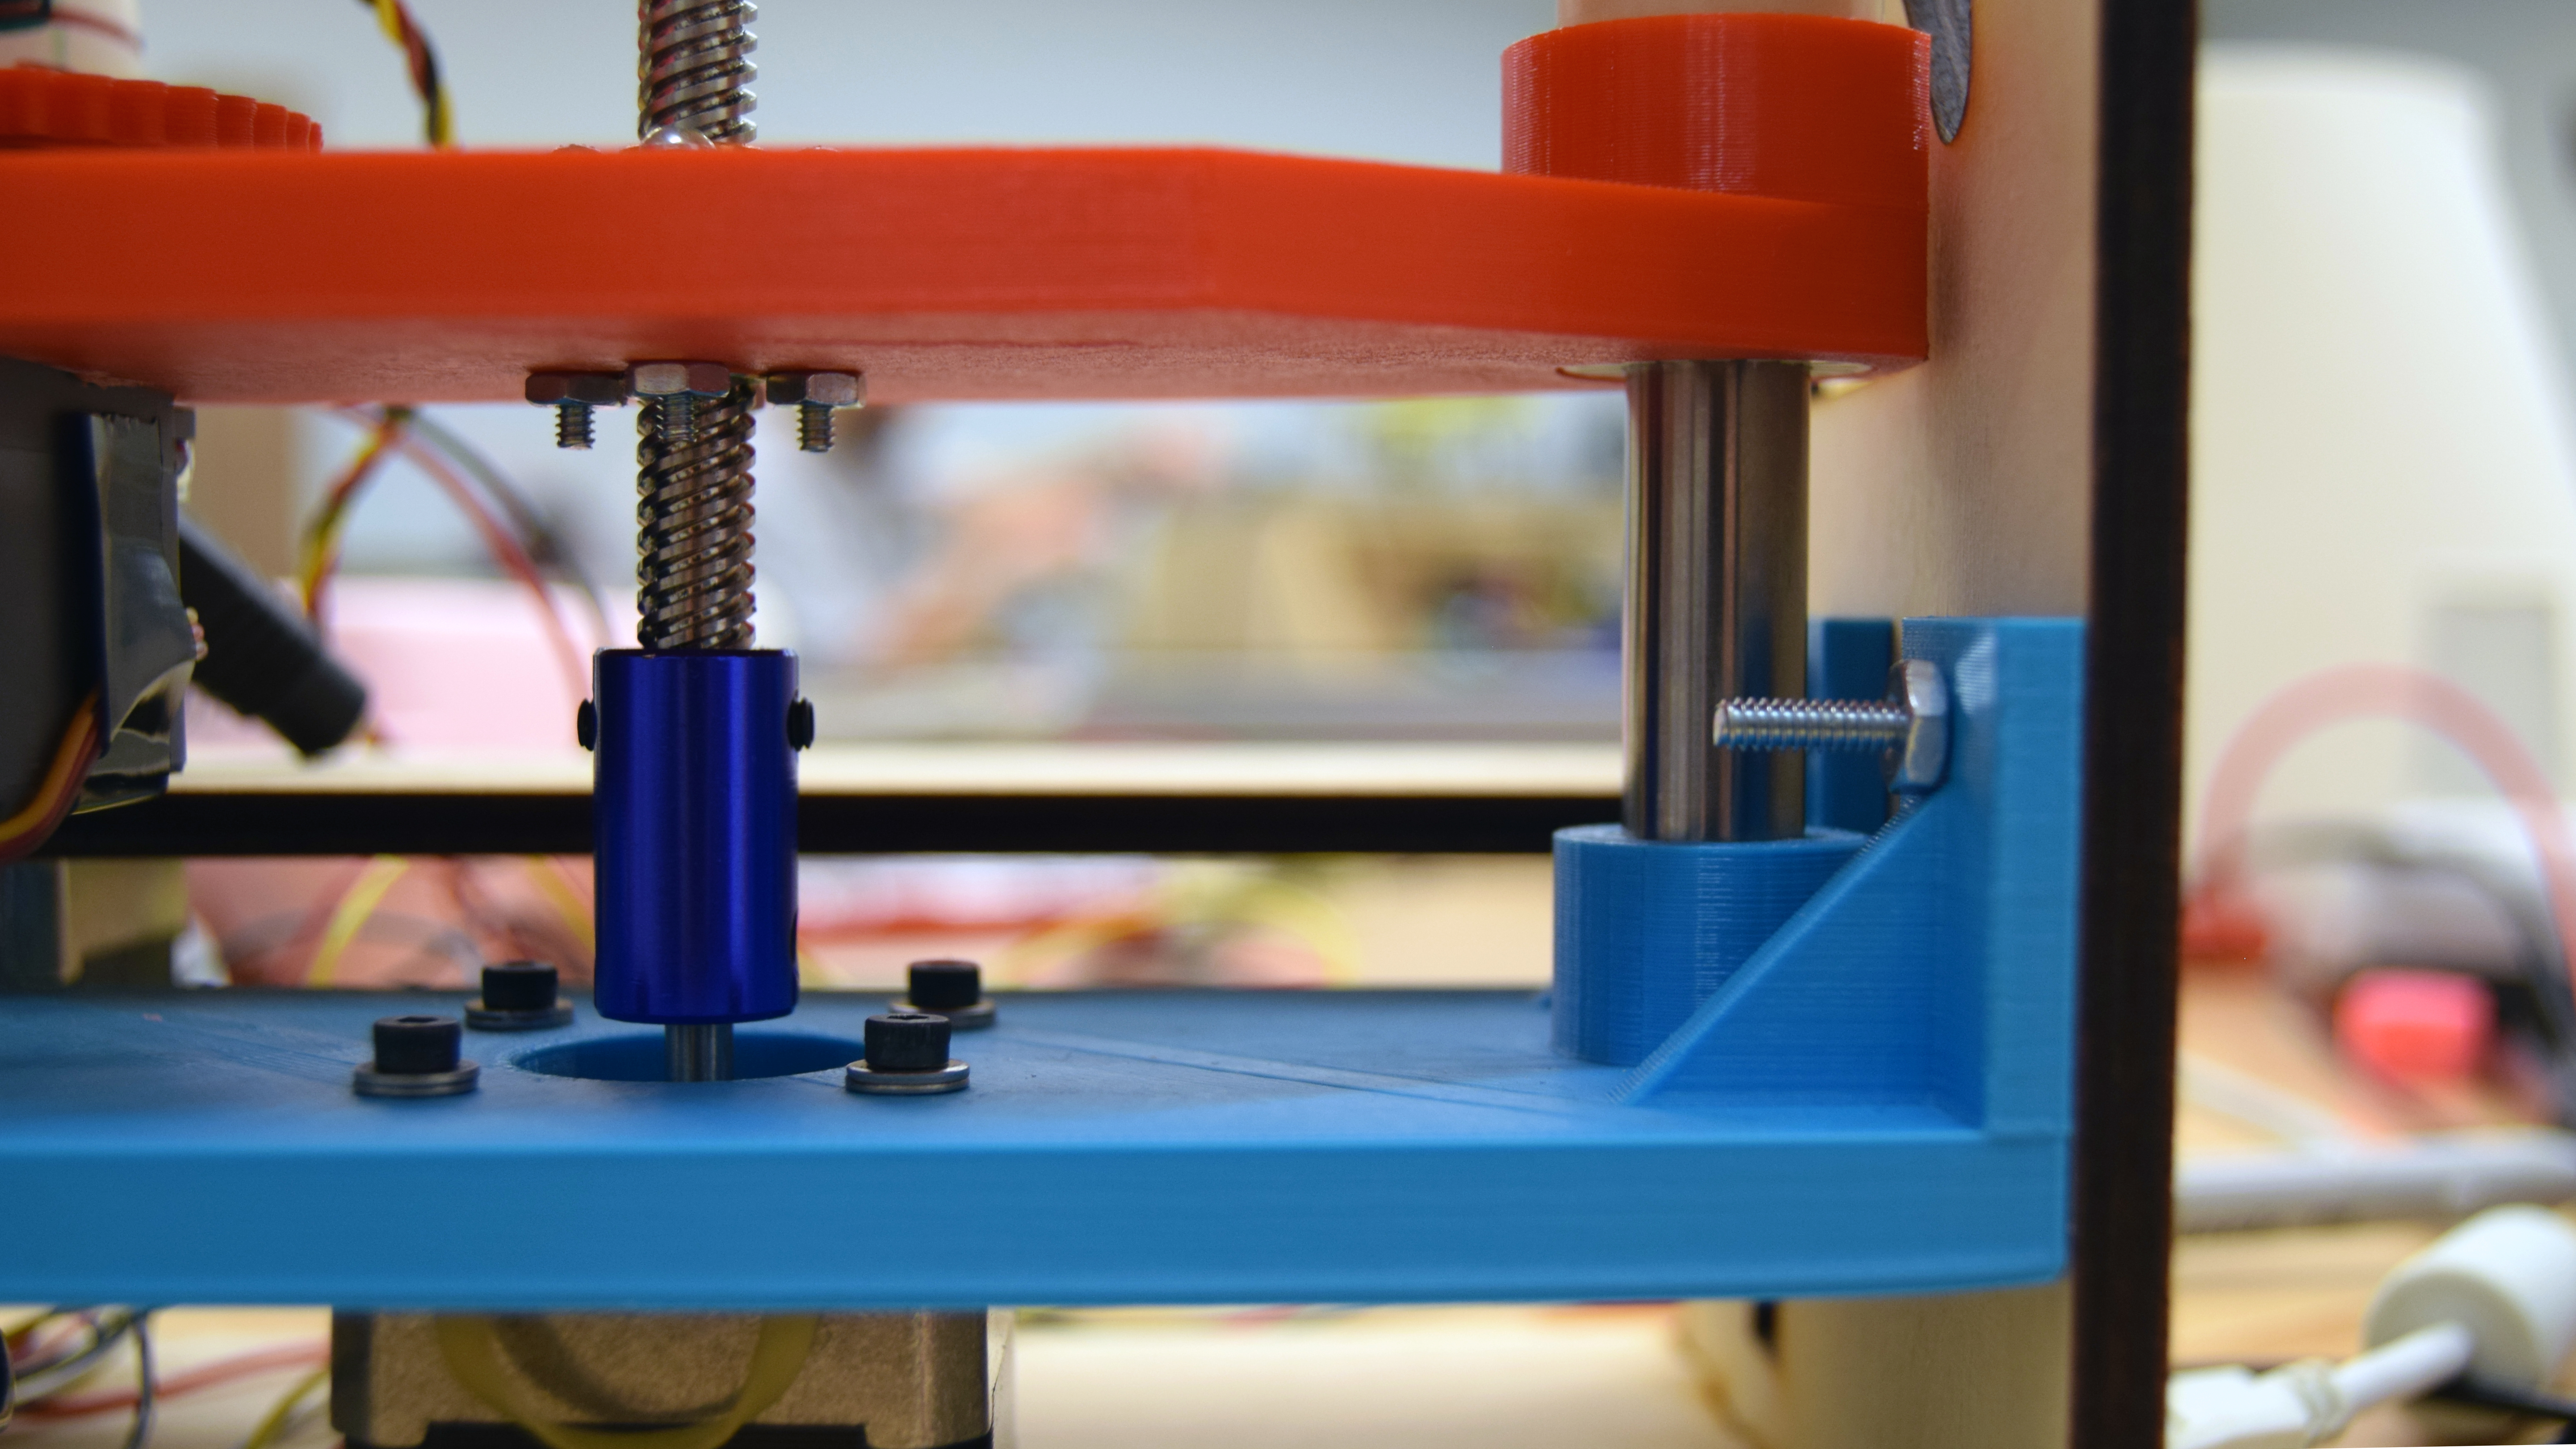
The egg decorator’s vertical axis is its most precise axis of movement. We used an off-the-shelf lead screw kit that couples directly to our second stepper motor. We then designed a guide system using inexpensive carbon steel rods and low-friction linear bearings. The 3D printed base component for vertical motion also acts as a brace that aligns all of our structural elements.

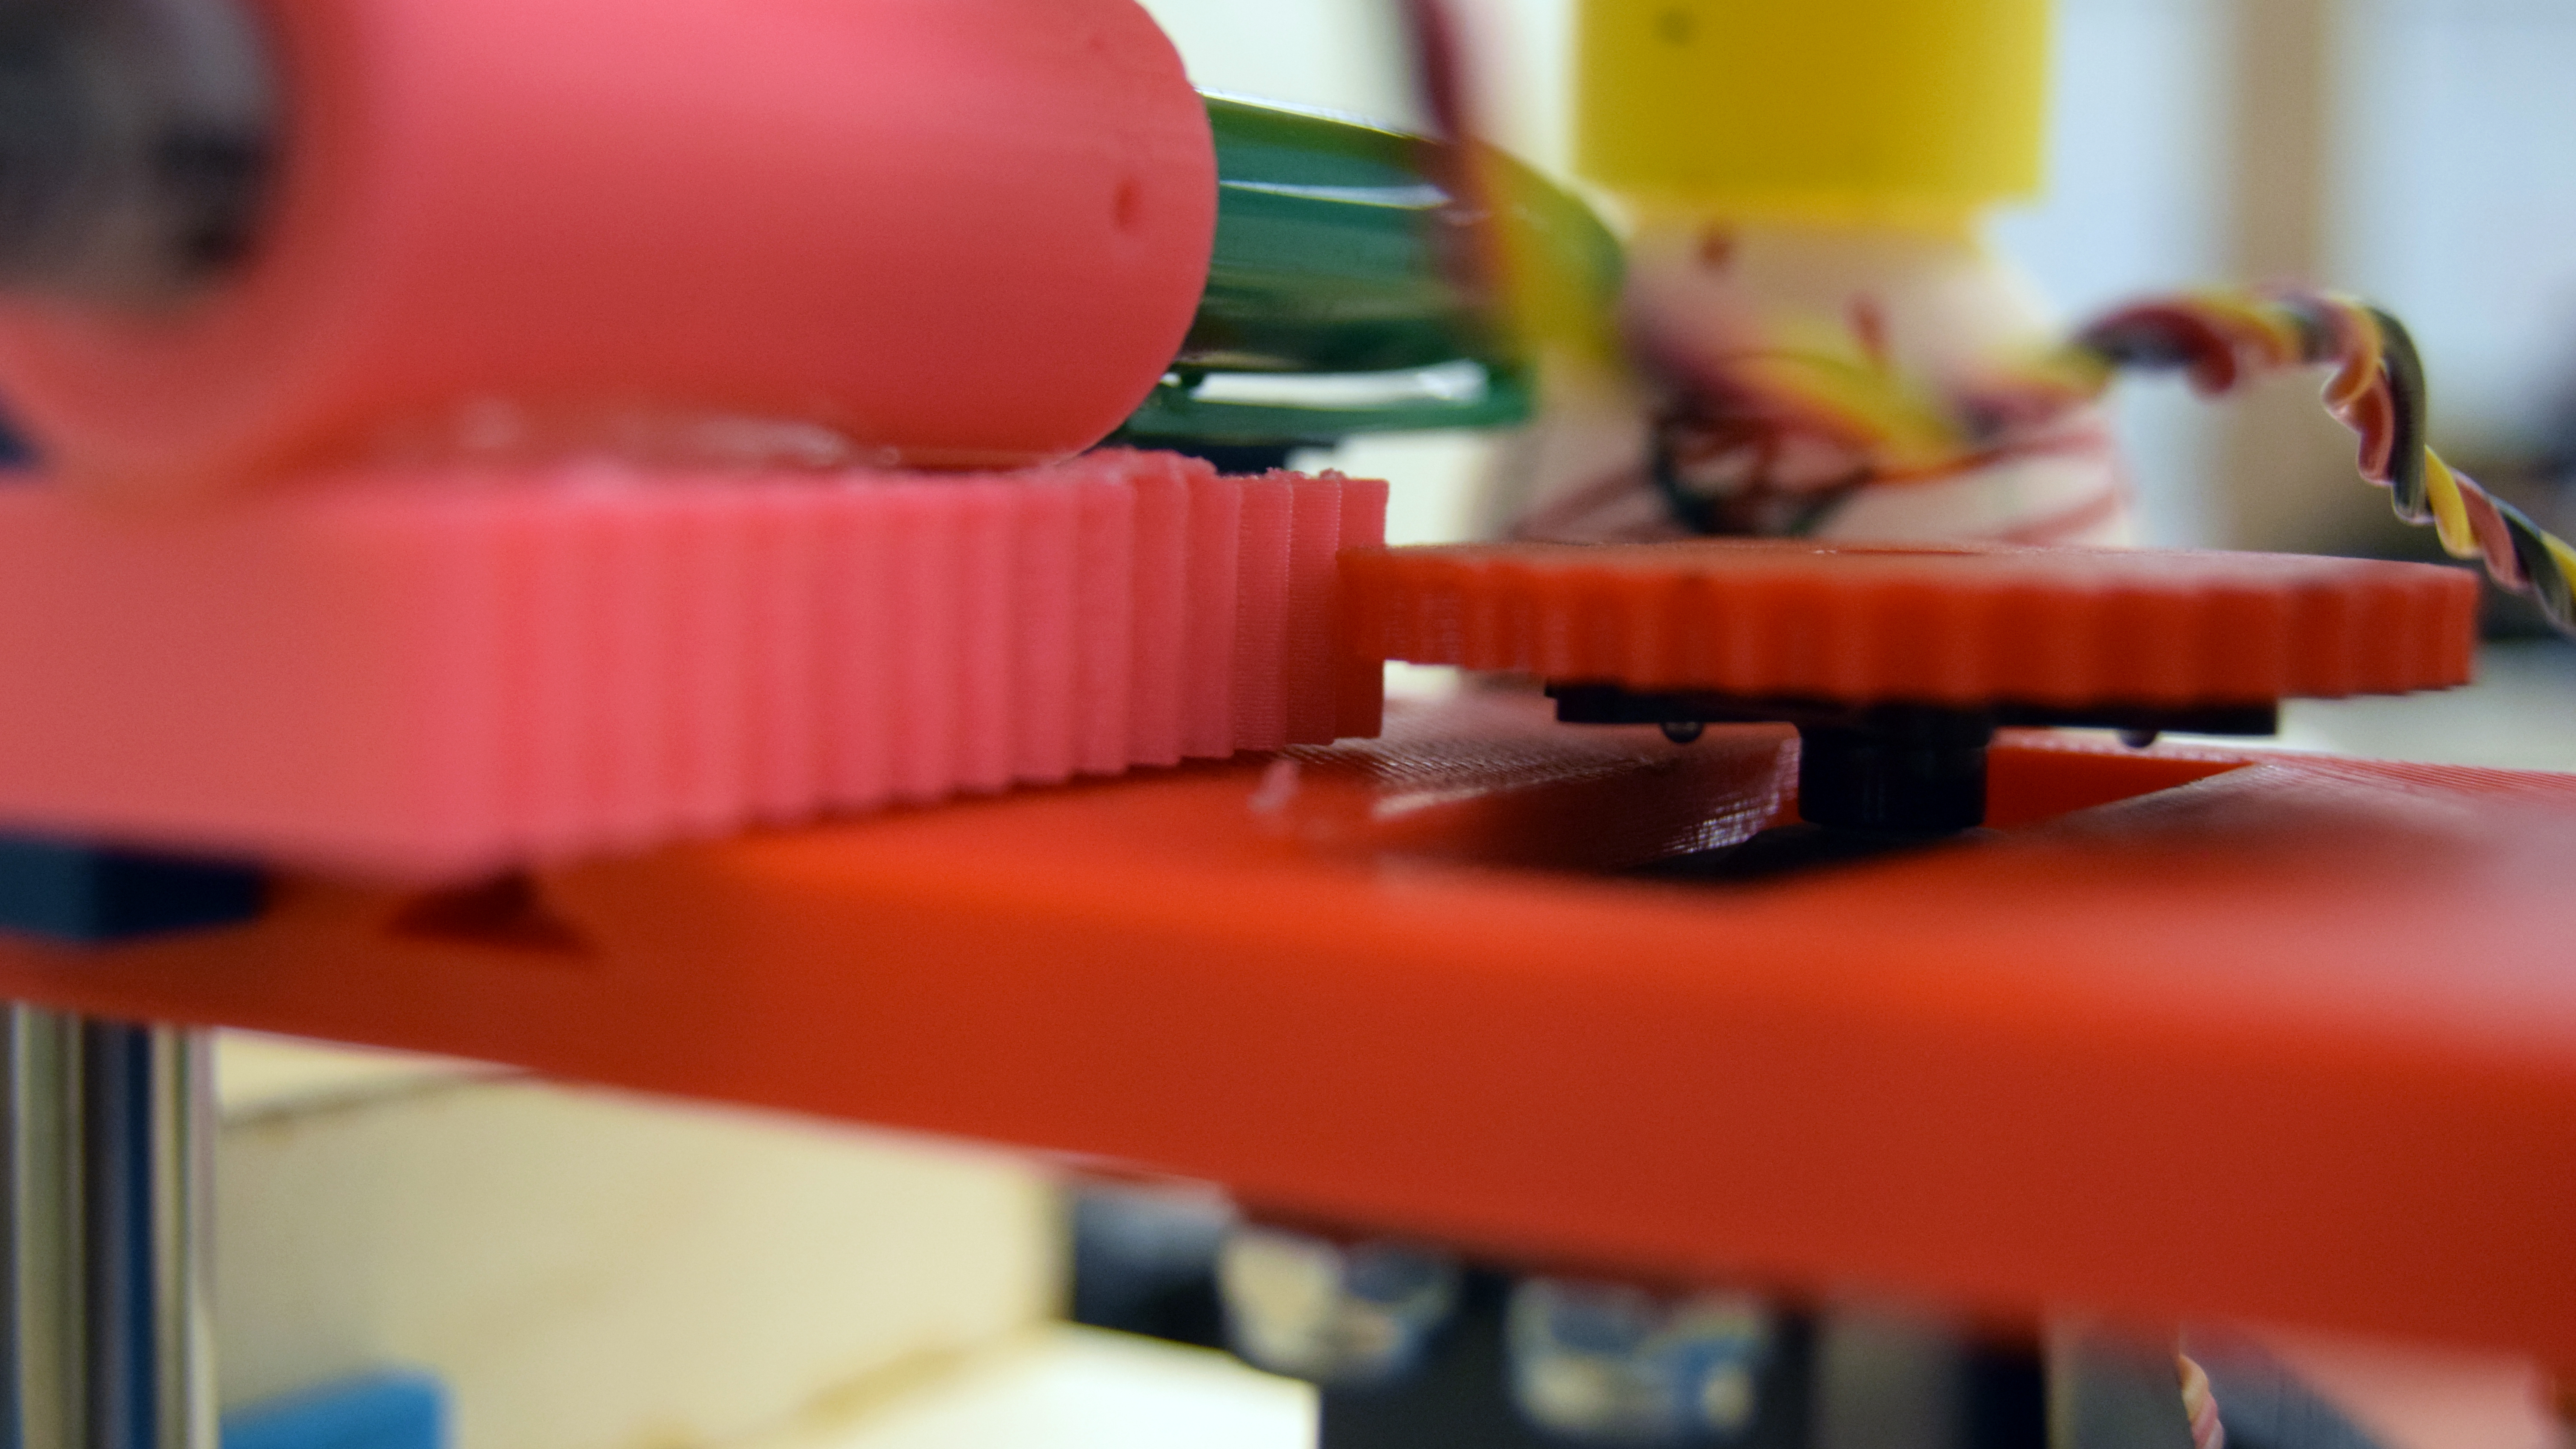
The egg decorator also has a plunge axis, which is capable of pushing a pen or engraver into the egg. This allows us to draw discontinuous shapes (like a smiley face). This system is powered by a standard hobby servo motor in conjunction with a custom rack gear and spring for error compensation. This entire subsystem was designed to be modular - this makes changing pen tips easy, and leaves the door open for other decorating procedures, like carving.

Electrical

Our electrical component consists of two stepper motors and a servo controlled by an Adafruit Motor Shield. The Arduino receives coordinates via Serial from a laptop, then passes the commands to the Motor Shield. The stepper motors control the pen in the vertical axis, and the egg along the rotation axis. The servo controls the plunge depth of the pen.

Additionally, we use two limit switches for calibration. One switch lets us know when the pen is touching the egg. The other switch gives a signal when the stepper motor has reached zero in the vertical axis.

Software

In order to make the drawing process more user friendly, the software team created an integrated drawing experience between Inkscape and Arduino. Our goal was to allow a user to draw an SVG file in Inkscape and then, through an Inkscape extension, export the image straight to Arduino for drawing.

Images drawn in Inkscape are saved in a variant of their standard vector graphics (SVG) format. Our Inkscape plugin parses the SVG file, collecting coordinate information defining the various SVG shapes. The information is packaged into a Python dictionary, and sent via serial communication to the Arduino. The Arduino then deduces which drawing function to call.

Since each egg is unique and differs in size by up to 30%, the pen is calibrated prior to each drawing. This is done by iterating through latitudes at a given interval, and pressing the pen against the egg until a limit switch is pressed.

After receiving the parsed SVG data from Inkscape, the Arduino makes the appropriate drawing function calls. Following a parametric equation deduced from the inputted SVG shape data, the Arduino has the stepper motors make discrete steps in the x and y directions, thus decorating an egg.