|
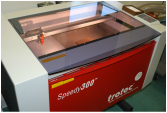
Laser Cutter
Gears
For the first iteration, we used a piece of scrap wood we found to establish settings and looks. Once we assembled them, we realized they were too thin, so we tried using thicker wood. However, while the machine was able to cut with precision for our details, it could not cut through the thick wood that we chose. Eventually, we decided to use multiple thin woods and to glue them together with wood glue.
|

|
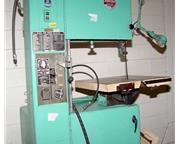
Band Saw
Band saw
Used to cut copper tubing used for casings to cover the hardware below. We also used band saw to make a French cleat mounting system, which is used to secure the sculpture in a minimally invasive way and is easily and quickly removed. Gravity Band saw Allowed us to cut thicker steel at an angle to make the weights for our comparison. |
|
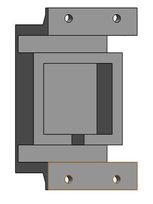
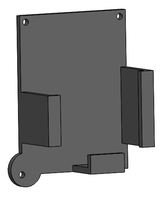
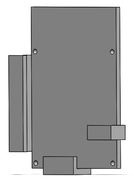
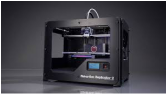
3D printerUsed to create fittings for the driving gears and create neat casings for our raspberry pi and arduino in preparation for installation of the sculpture.
These tightly hold the hardware to prevent them from falling while still allowing for proper connection and cable access. They are easy to access so that the hardware can be removed quickly if any problems arise.
|